This one bowl Chocolate Cake is a winner and is so easy to make. It is full of chocolate flavour with a beautifully moist and tender crumb and is my go-to favourite recipe for birthdays or celebrations. A cake that both adults and children will enjoy.
I first tried this cake years ago at a cafe in New Zealand. When researching and looking at other chocolate cakes, it seems there are variations of this recipe around as it is very similar to the famous ‘Hersheys Chocolate Cake’ and the ‘Barefoot Contessa Chocolate Cake’ which both always rate well in cake tests.
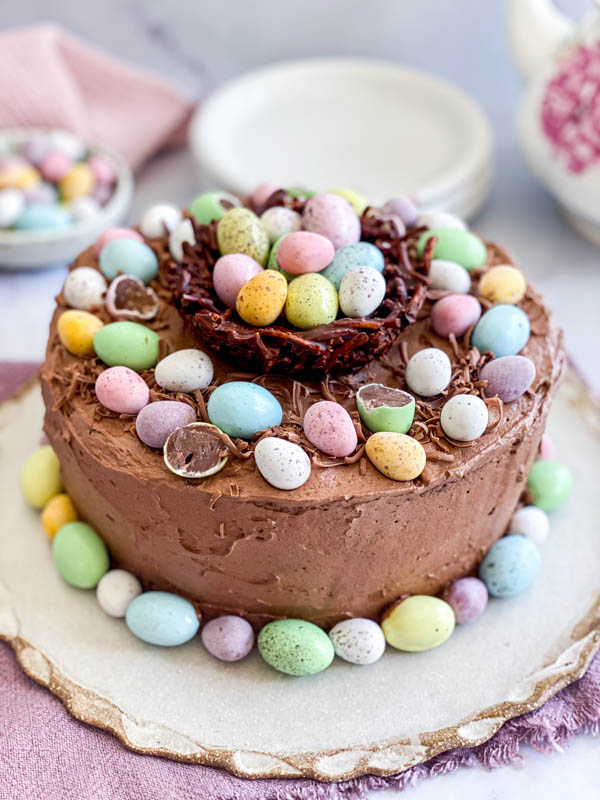
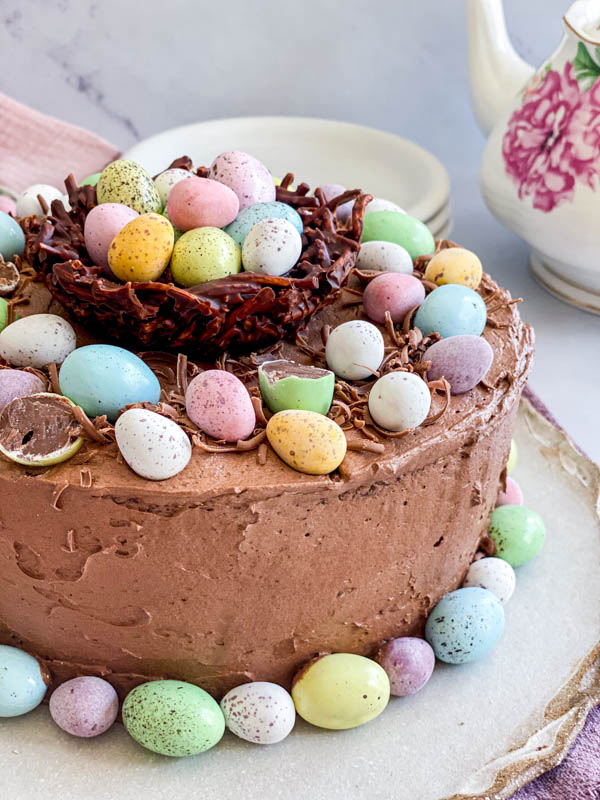
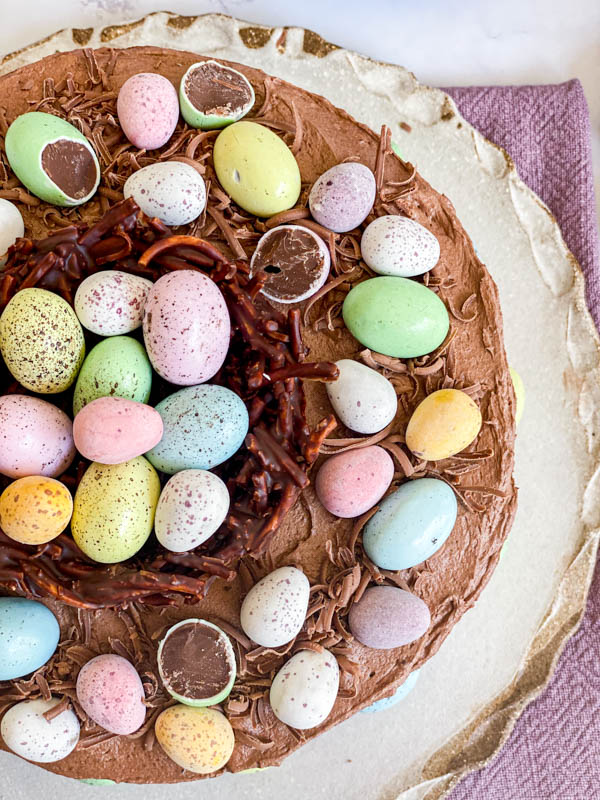
Given it is Easter next week, I thought I’d share this recipe and make an Easter themed cake by decorating it with mini Easter eggs and a chocolate nest as the centrepiece. It was great to decorate and you really could have fun with different eggs and sizes – the children would love to be involved too!
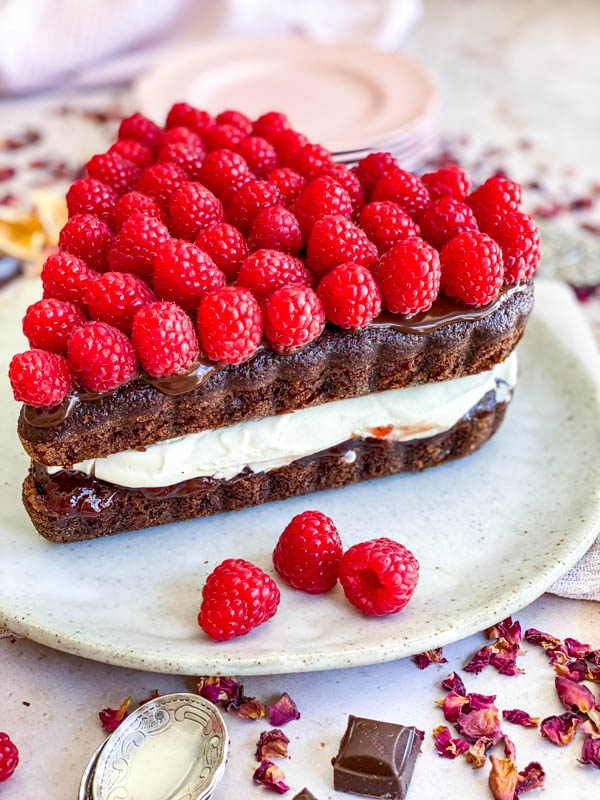
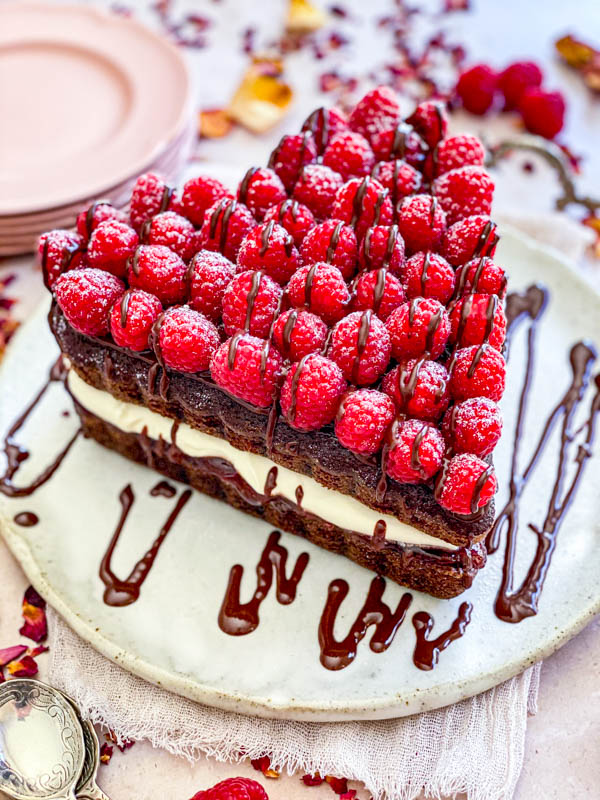
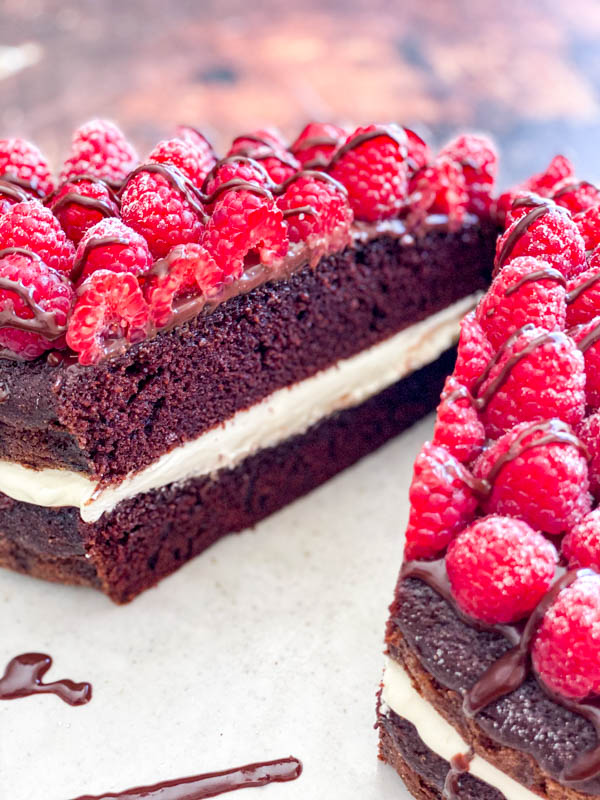
You may also remember me sharing on my socials last year a Valentines Day version of this cake (see pics below). It was made using this recipe which I filled with strawberry jam and whipped cream, then topped with a ganache and fresh raspberries. Another great way to present and serve this easy Chocolate Cake.
Why I love this recipe:
As mentioned above, this is a very versatile recipe as you can decorate it in many different ways, or serve it simply as it is with a dusting of icing sugar and whipped cream or ice cream.
It is also very easy to make – the batter is all made in one bowl using only a whisk or hand held mixer.
This cake keeps well too. It lasts up to 5 days in an airtight container or in the fridge. I often make this cake the day before I need it and then just decorate it in the morning.
Ingredients to make this easy cake:
- Plain flour – you can also substitute with gluten-free flour.
- Cocoa Powder – I like to use normal cocoa powder in this recipe as it is less bitter than Dutch Cocoa powder.
- Baking Powder
- Baking Soda
- Fine salt
- Sugar
- Vegetable Oil
- Buttermilk
- Eggs
- Vanilla Extract
- Boiling Water (or coffee) – the original recipe used a cup of coffee. Coffee really brings out the flavour of chocolate and is often used for this reason. You don’t really taste the coffee at all in the cake. I don’t drink coffee so just use boiling water. Try both ways and see which you prefer.
Buttercream Frosting:
- Salted Butter – room temperature (softened) – this is really important for a smooth buttercream.
- Icing Sugar – (also known as powdered sugar or confectioners sugar). You can use either pure icing sugar or icing sugar mixture for this recipe, although you will get a smoother buttercream when you use icing sugar mixture.
- Cocoa Powder – use normal cocoa powder not Dutch cocoa for this recipe.
- Milk – use full cream or you can substitute with dairy free milk.
- Vanilla Extract
Step by Step Instructions:
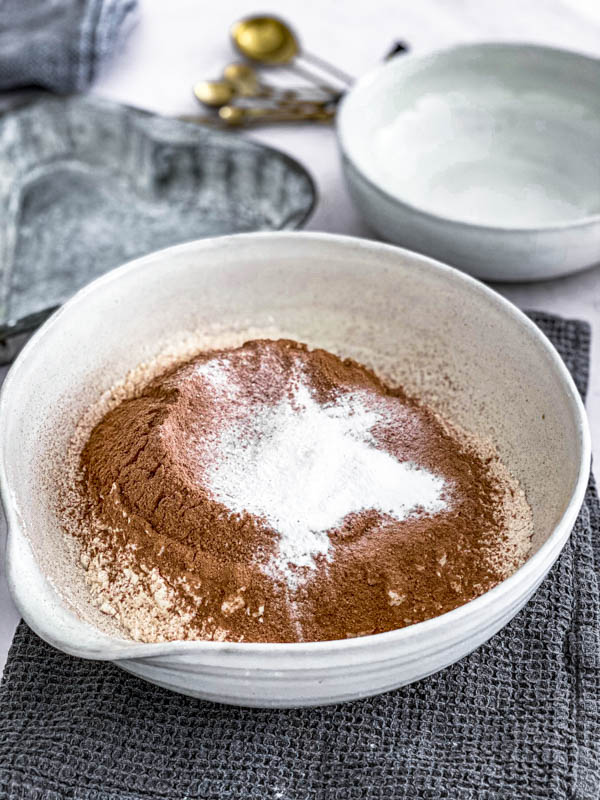
- 1. Sift dry ingredients into a bowl and then add sugar and salt.
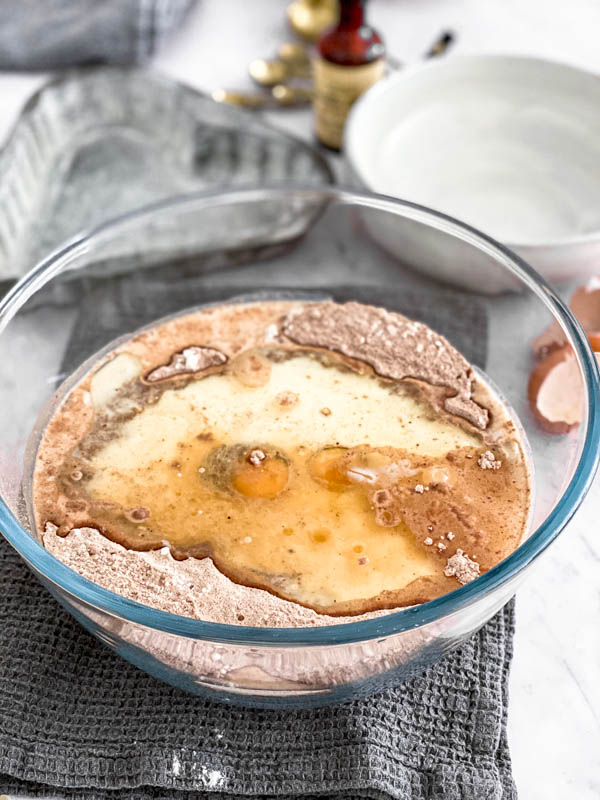
- 2. Add all the wet ingredients except the boiling water to the dry ingredients.
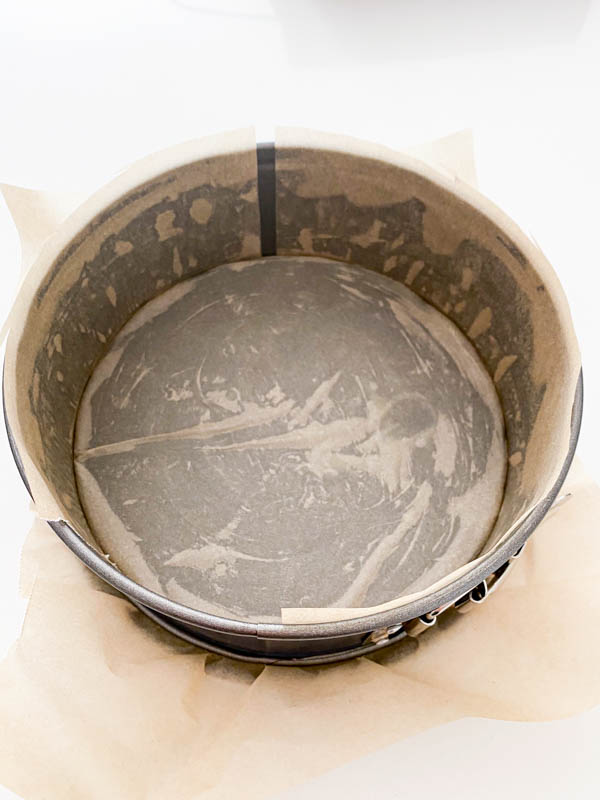
- 3. Grease your cake tin/s with butter and line with baking paper. Set aside.
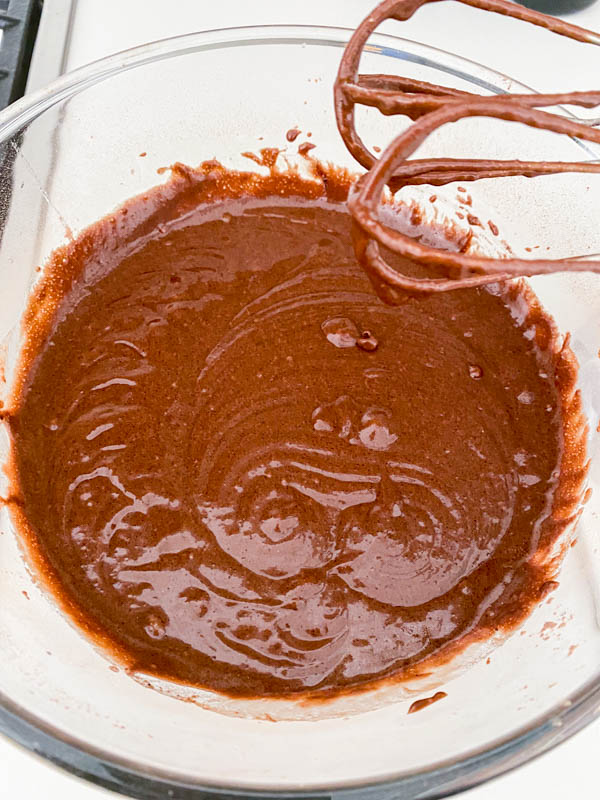
- 4. Using a whisk or hand held mixer, mix everything together well so you get a nice smooth mixture and the eggs are all well incorporated. Lastly add the boiling water and mix in well, slowly at first. The batter is more runny than a normal cake batter – don’t worry, this is how it is supposed to be.
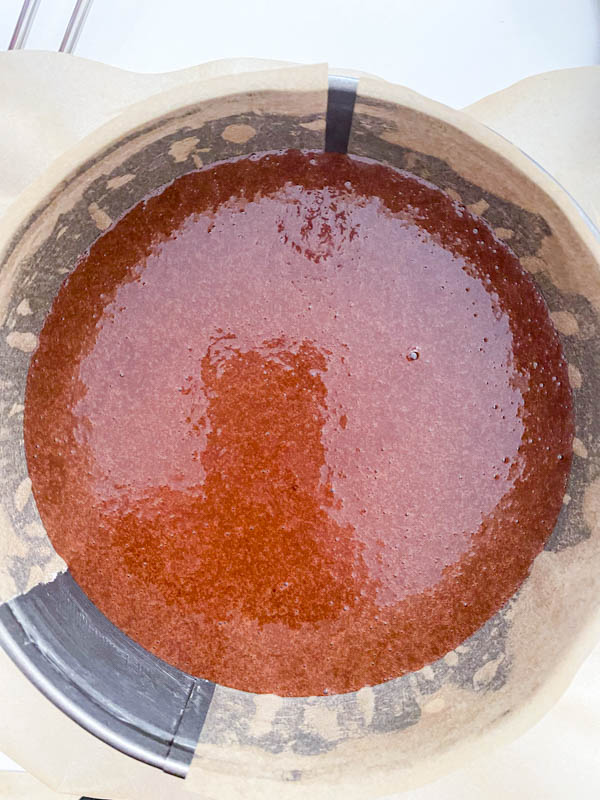
- 5. Pour the batter into your lined tin/s and bake in the oven for the required time.
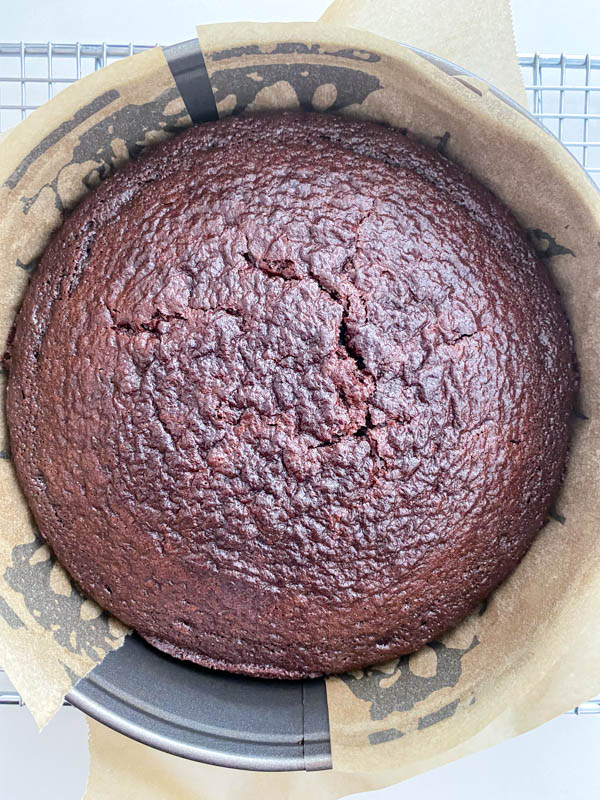
- 6. Remove the cake from the oven and set aside to rest in the tin for 30 minutes before removing to a wire rack to continue cooling. You can also refrigerate the cake at this point and decorate in the morning. I find refrigerating the cake makes it easier to work with.
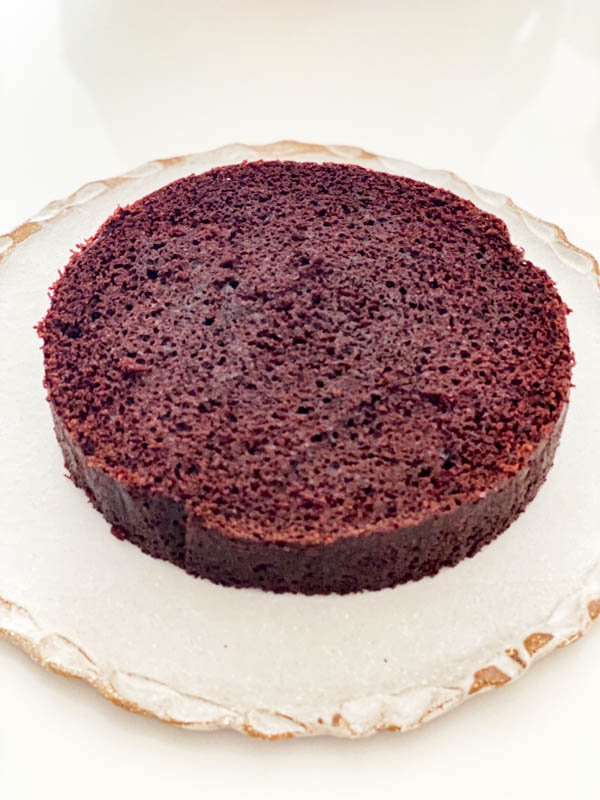
- 7. If you like a nice flat surface or are layering your cakes, I would suggest you trim the top of the cakes so they are nice and even.
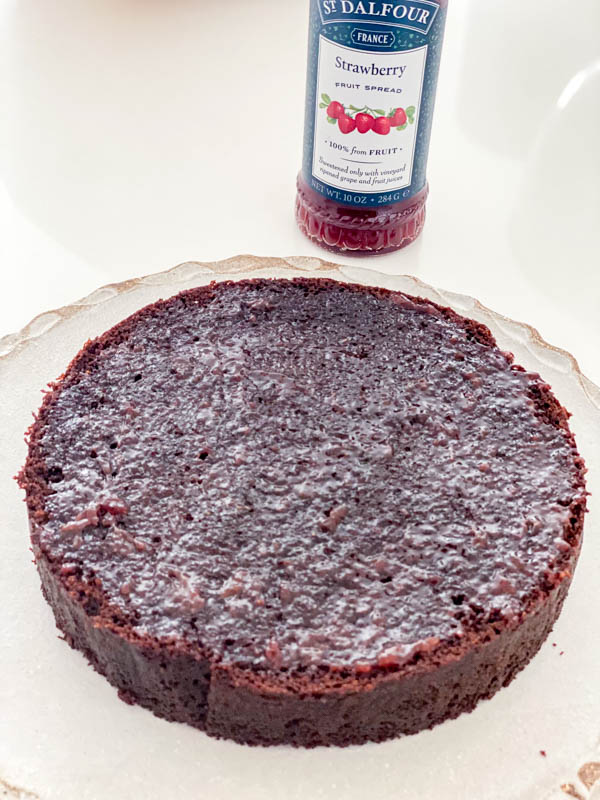
- 8. Place your first cake layer on a plate and thinly spread with strawberry jam (this is optional). The strawberry jam is very subtle when it is spread in a thin layer and is a nice flavour combination with the chocolate cake.
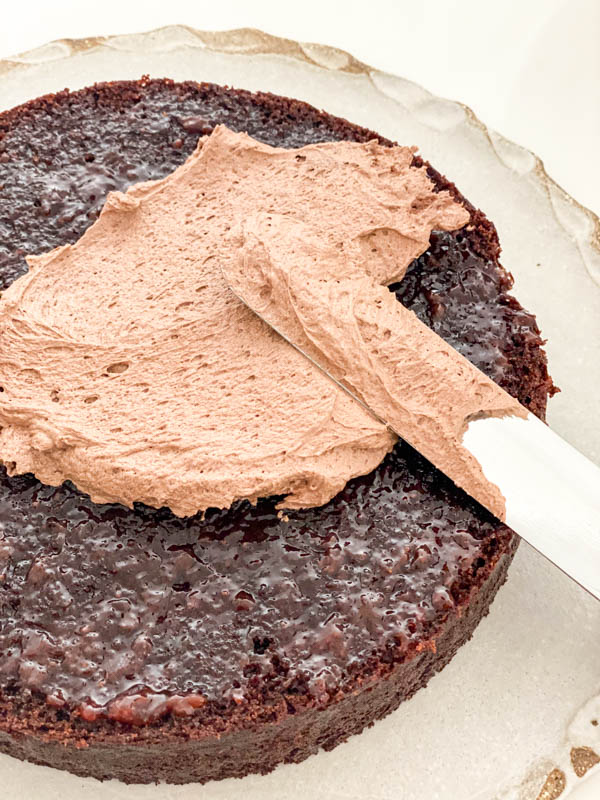
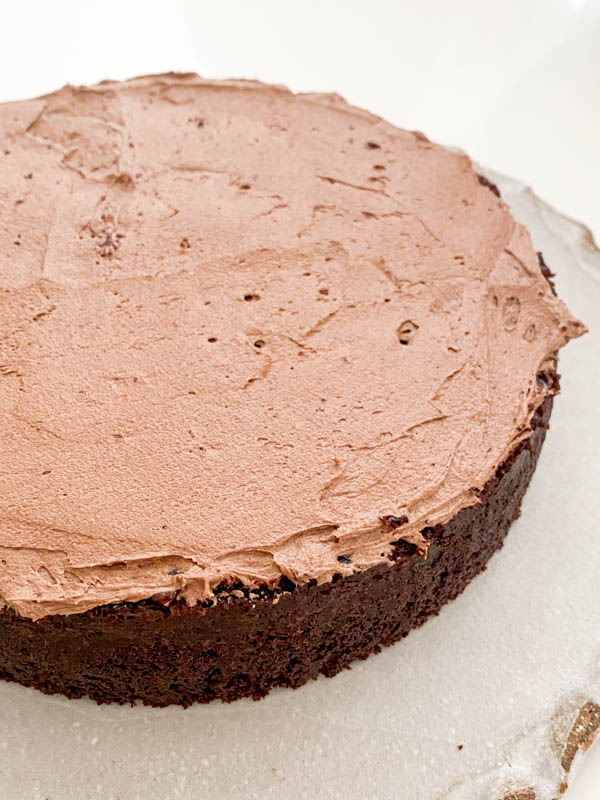
- 9 and 10. Now add a thin layer of chocolate buttercream frosting and spread out evenly over the jam layer or over the cake if not using jam.
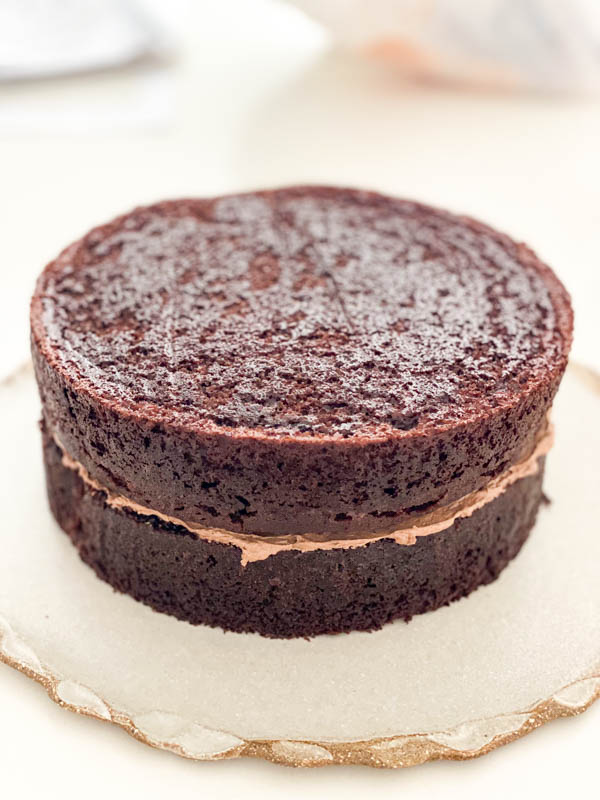
- 11. Place the second cake layer (trim beforehand) onto the top – I turn this layer upside down so the flat smooth bottom becomes the top of the cake.
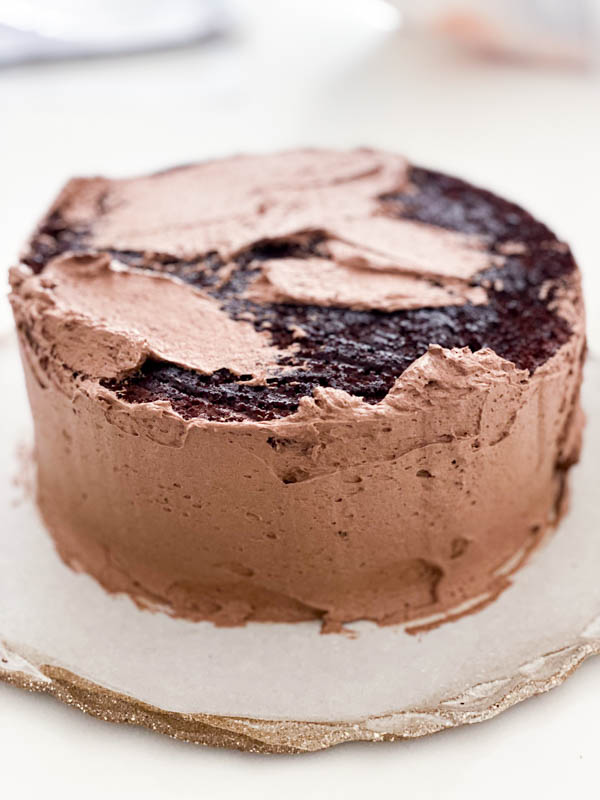
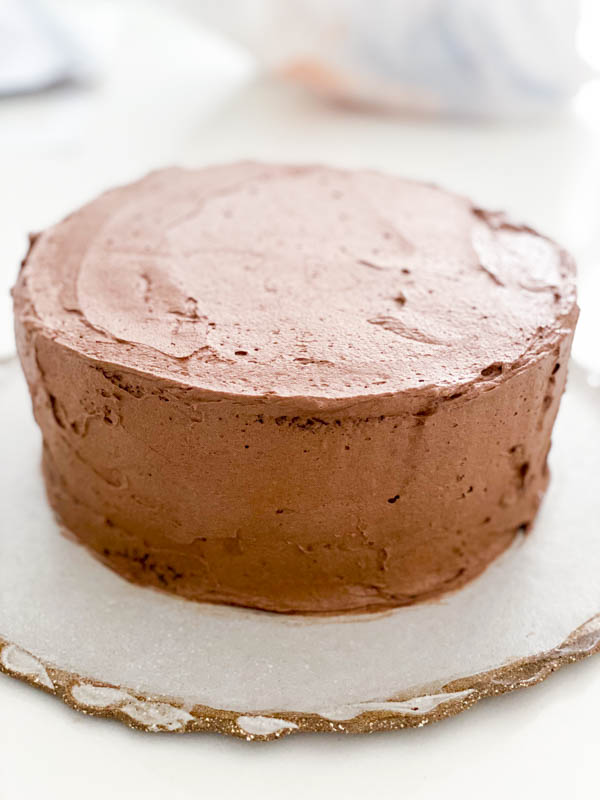
- 12. Spread a thick layer of buttercream frosting around the sides of the cake first and smooth out, then over the top.
- 13. Smooth out as best you can.
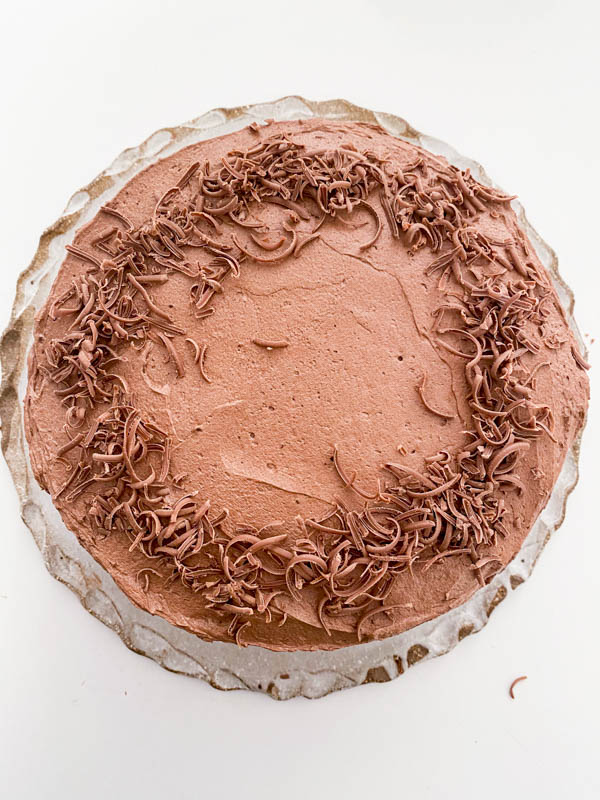
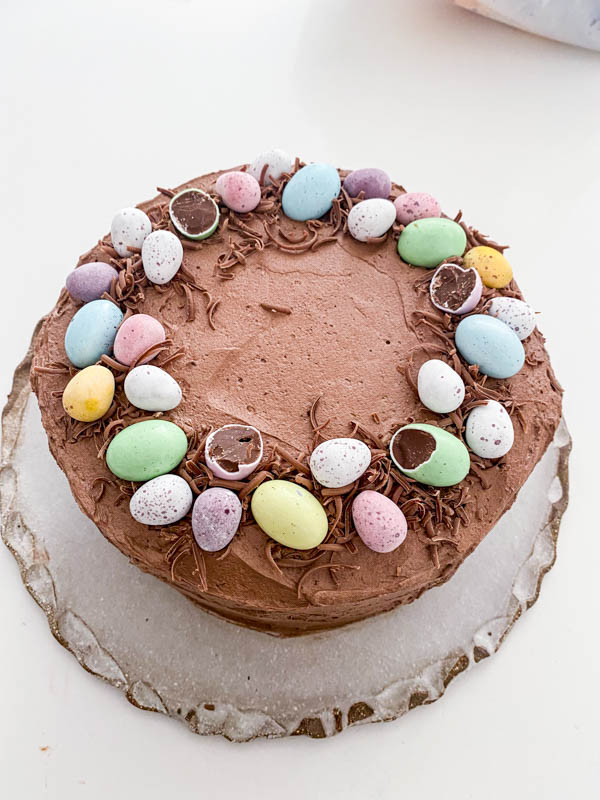
- 14. Now decorate the cake as you like. Here I have added an outer circle of grated milk chocolate to the top of the cake.
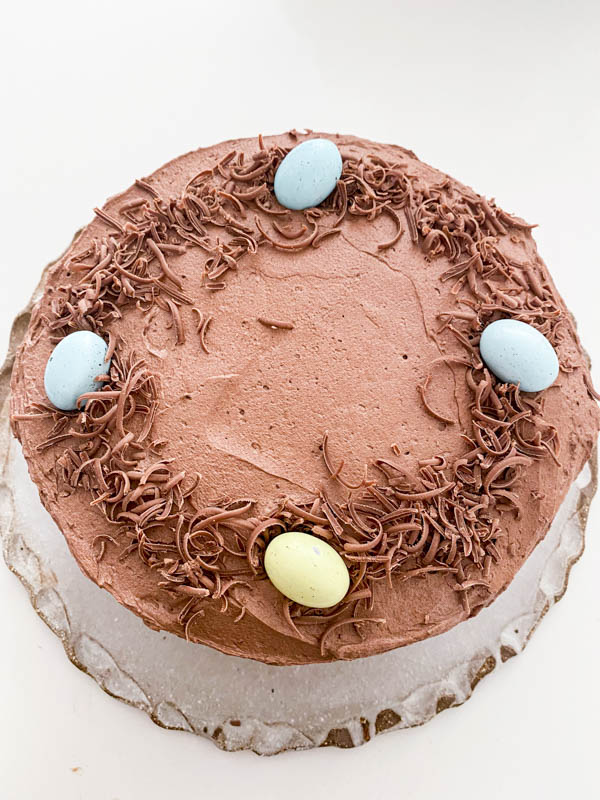
- 15 and 16. Place mini chocolate easter eggs around the cake on top of the grated chocolate. I have used the smaller Cadbury mini eggs and the slightly larger (but still mini) Darrell Lea Speckled eggs. I have also cut some in half for variation.
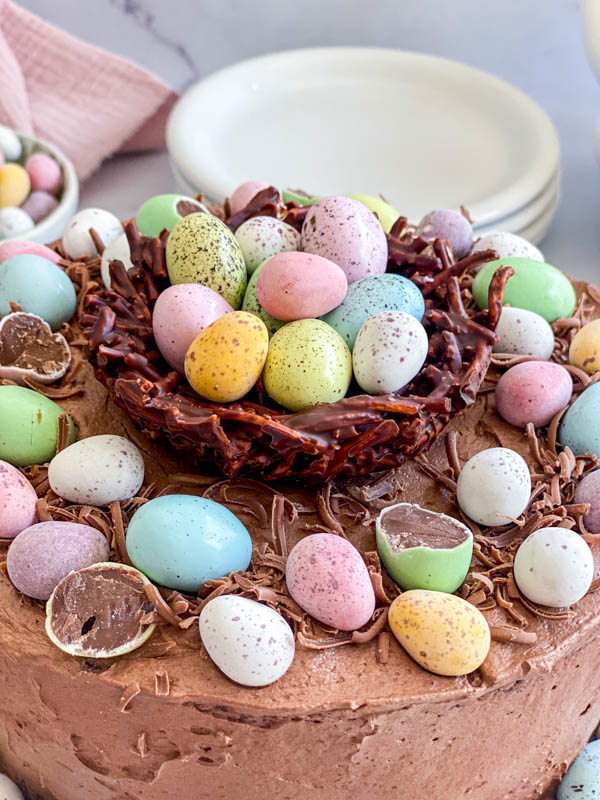
- 17 and 18. I have used a chocolate nest filled with more mini easter eggs as the centrepiece. I made the nest the day before and have included the recipe in the notes section of this post. I’ve also placed Easter eggs around the base of the cake.
Tips and Tricks for Success:
The recipe for this cake is very forgiving. As it is made with oil and not butter, you get a lovely moist cake.
The cake only uses cocoa and no chocolate but by adding boiling water to the batter, it helps the cocoa ‘bloom’ which enhances the chocolate flavour in this cake. When the boiling water is added to the mix, it will create a more runny batter. Don’t be concerned as it is supposed to be a thinner mixture than would normally be the case.
Always grease and line your tins with butter and baking paper. It really makes all the difference and avoids any sticking, especially with moist cakes such as this one. If using springform tins, I highly recommend you line the sides as well. This helps seal the sides and avoids any leakage when filling with thin batters like this one.
I also like to use regular cocoa powder in this recipe as it is less bitter than Dutch cocoa.
For a nice finish, I recommend trimming the tops of your cakes to get a nice flat finish. Also turn the top cake upside down once it has been trimmed, as the bottom of the cake will always be flatter and smoother giving the cake a nice flat finish on top.
Recipe Variations:
You can make this recipe in different sized tins so I have provided a few cooking times for different sized tins. The temperature of 180°C (350°F) remains the same.
- Cupcakes – I recommend you use cupcake liners. Fill 2/3 with batter and bake for approximately 25 minutes.
- Single cake in a 22-24cm (9-10inch) – 40-45 minutes approximately.
- 2 x 22cm (9inch) tin – 35 minutes approximately.
- Bundt Pan – grease and flour your tin well! 50 mins approximately.
- One layer traybake cake in a 9 x 13inch (22cm x 33 x 5cm) – 35-40 minutes.
All times are approximate. Check your bakes a few minutes before these times.
More recipes for you to try:
The recipe for the Easter Chocolate Nests used to decorate my Easter themed Chocolate Cake can be found here.
Another great Easter recipe is my Easter Rocky Road.
If you are after a more dessert like chocolate cake, take a look at my Torta Caprese recipe.
Equipment
- Large Mixing Bowl
- hand held mixer or whisk
- Stand Mixer or hand held mixer (for buttercream)
- 2 x 20cm (8inch) cake tins
Ingredients
To make the Cake:
- 1 3/4 c plain flour (265g) sifted
- 3/4 c cocoa powder (70g) sifted, use regular cocoa powder
- 1 1/2 tsp baking powder
- 1 1/2 tsp baking soda
- 2 c sugar (440g)
- 1 tsp salt fine table salt
- 1/2 c vegetable oil
- 1 c buttermilk
- 2 eggs
- 2 tsp vanilla extract
- 1 c boiling water or coffee
Chocolate Buttercream Frosting:
- 200 g salted butter softened
- 300 g icing sugar
- 60 g cocoa powder use regular not Dutch
- 50 ml milk full cream
- 1 tsp vanilla extract
Instructions
To Make Cake:
- Grease and line the base and sides of 2 x 20cm cake tins with butter and baking paper. Set aside. Preheat the oven to 180°C (350°F).
- In a large mixing bowl, sift together the flour, cocoa, baking powder and baking soda. Add the sugar and salt and stir everything together to combine.
- Now add all the wet ingredients (oil, buttermilk, eggs and vanilla extract) except for the boiling water. Use a whisk or hand held mixer to mix everything together well until smooth and the eggs are fully incorporated.Add the boiling water (or coffee) and whisk again until everything is combined. The batter will be very runny but that is how it is supposed to be.
- Pour batter evenly into cake tins.
- Bake in the oven for 35-40 minutes or until a skewer inserted into the middle of the cake comes out clean. You can bake both tins at the same time on the same shelf or bake them separately.Remove the tins from the oven and set aside to cool for 20 minutes before turning out carefully onto a wire cake rack to cool completely. Cakes must be completely cool before frosting. At this stage you can place the cakes into an airtight container and put in the fridge overnight. Otherwise once cooled, you can decorate.
To Make Buttercream:
- Sift together the icing sugar and cocoa in a bowl and set aside.
- Place the softened (room temperature) butter into the bowl of a stand mixer or you can use a hand held mixer. For the stand mixer, use the paddle attachment.Beat the butter on medium speed 6 for 3-4 minutes until pale. Scrape down the sides.
- Add approximately half of the icing sugar/cocoa mixture and beat again for another 3-4 minutes – start on speed 1 for first few seconds (to stop icing sugar from spraying out) and then increase to speed 6. Scrape down the sides and then repeat with the remaining icing sugar/cocoa mixture for another few minutes. Scrape down the sides again and then add the milk and vanilla extract and beat on speed 6 for another 1-2 minutes until combined and creamy. Scrape down the sides once during this final mixing.
To Frost the Cakes:
- Firstly I suggest that you trim the top of both cakes so that they are flat and even. I find this easier to do when the cakes have been refrigerated for a few hours or overnight.
- Place the first cake onto your cake plate and spread with a thin amount of strawberry or apricot jam (optional). Then spread with a thin layer of Buttercream frosting.Now place the second cake upside down onto the first layer, so that the bottom of the second cake is now the top of the cake. The reason I do this, is that the bottom of the cake is always smoother and flat than the top.
- Frost the sides of the cake first using a flat palette knife to apply and smooth as you go. Once the sides are frosted, apply a generous amount of buttercream to the top of the cake and smooth out. Use a damp clean cloth to carefully remove any messy bits of buttercream on the plate.Decorate the cake as you like. You can also choose to fill the cake with a generous layer of jam and whipped cream and then finish the top layer off with a ganache and fresh raspberries. Or serve the cake simply, as it is, with a dusting of icing sugar and a side of whipped cream or ice cream.
To decorate for Easter:
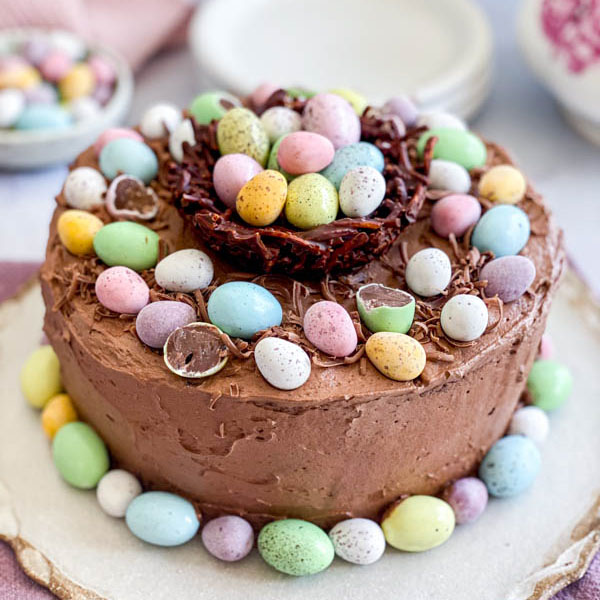
- Once the cake is frosted, add some grated milk chocolate to the top of the cake to form a ring around the outside. Add some mini easter eggs (see step by step instructions) and place around the cake on top of the grated chocolate.Decorate with larger eggs in the centre, or add a pre-made Easter Chocolate Nest to the centre and fill with more mini eggs. Add more mini eggs around the base of the cake.Chocolate Nest: The recipe for the Easter Chocolate Nests used to decorate my Easter themed Chocolate Cake can be found here.
Notes
Tips and Tricks for Success:
The recipe for this cake is very forgiving. As it is made with oil and not butter, you get a lovely moist cake. The cake only uses cocoa and no chocolate but by adding boiling water to the batter, it helps the cocoa ‘bloom’ which enhances the chocolate flavour in this cake. When the boiling water is added to the mix, it will create a more runny batter. Don’t be concerned as it is supposed to be a thinner mixture than would normally be the case. Always grease and line your tins with butter and baking paper. It really makes all the difference and avoids any sticking, especially with moist cakes such as this one. If using springform tins, I highly recommend you line the sides as well. This helps seal the sides and avoids any leakage when filling with thin batters like this one. I also like to use regular cocoa powder in this recipe as it is less bitter than Dutch cocoa. For a nice finish, I recommend trimming the tops of your cakes to get a nice flat finish. Also turn the top cake upside down once it has been trimmed, as the bottom of the cake will always be flatter and smoother giving the cake a nice flat finish on top.Recipe Variations:
You can make this recipe in different sized tins so I have provided a few cooking times for different sized tins. The temperature of 180°C (350°F) remains the same.- Cupcakes – I recommend you use cupcake liners. Fill 2/3 with batter and bake for approximately 25 minutes.
- Single cake in a 22-24cm (9-10inch) – 40-45 minutes approximately.
- 2 x 22cm (9inch) tin – 35 minutes approximately.
- Bundt Pan – grease and flour your tin well! 50 mins approximately.
- One layer traybake cake in a 9 x 13inch (22cm x 33 x 5cm) – 35-40 minutes.


No Comments