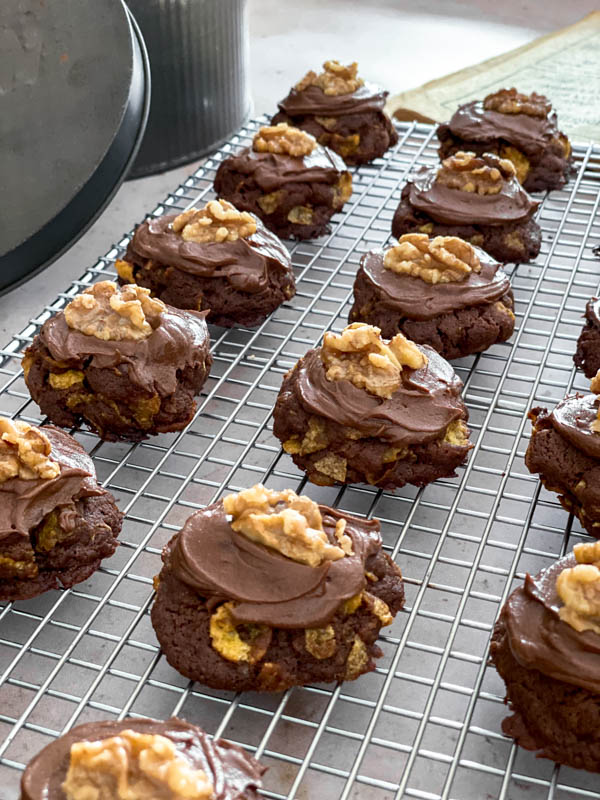
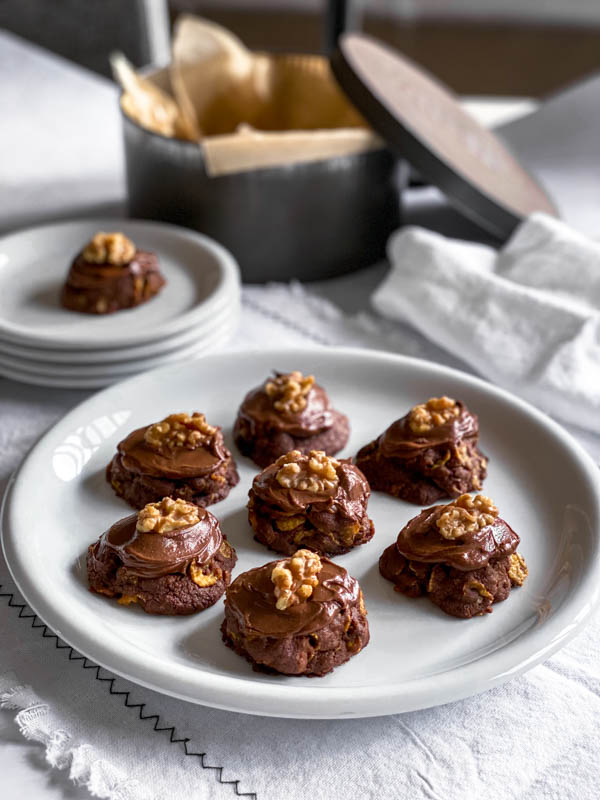
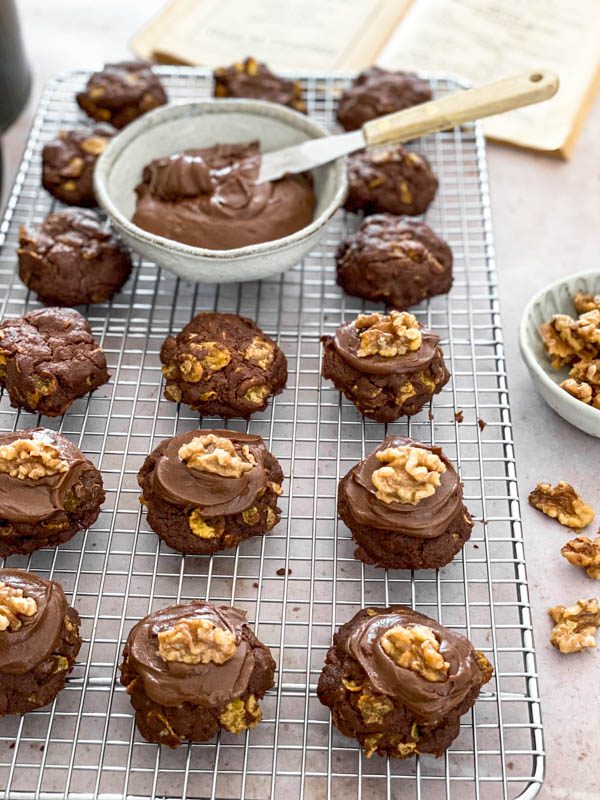
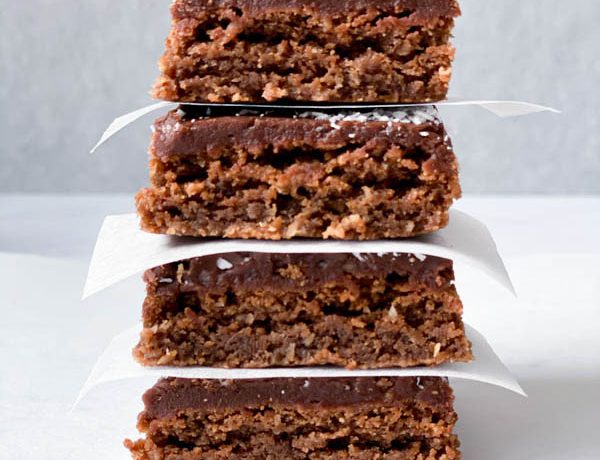
These biscuits are more commonly known as ‘Afghan Biscuits’ and originate from New Zealand where they are adored. They are a chocolate cornflake based biscuit that is topped with chocolate icing and a walnut half. Made with simple ingredients, they are a delight to eat – the biscuit itself is dense and soft with a lovely crunch from the cornflakes. It is not too sweet but topped with the chocolate icing it is a wonderful combination that will have you going back for another.

Like most children growing up in New Zealand, I loved these biscuits! They are hugely popular and unlike any other biscuit I have eaten. They are loved by adults and children alike. The most known recipe for them comes from a classic NZ cookbook called the ‘Edmonds Cookbook‘ which was first published in 1908. Nearly every household in NZ would be familiar with this cookbook and this recipe (like most you’ll find), is based on their version.
Why I love this biscuit:
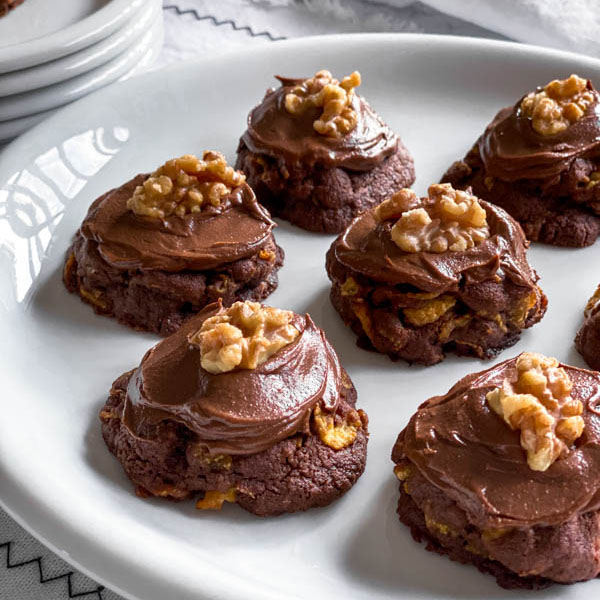
For me, this biscuit is chocolately, dense and soft, yet has a lovely crunch when you bite into it (from the cornflakes). It is not overly sweet, but combined with the chocolate icing, it is a delight to eat. This perfect balance is complemented by a half walnut on top to give it that little extra crunch.
I also love that they are made from everyday ingredients – butter, flour, cocoa, sugar and cornflakes along with icing sugar which I usually always have in my cupboard, meaning I can make these without too much fuss.
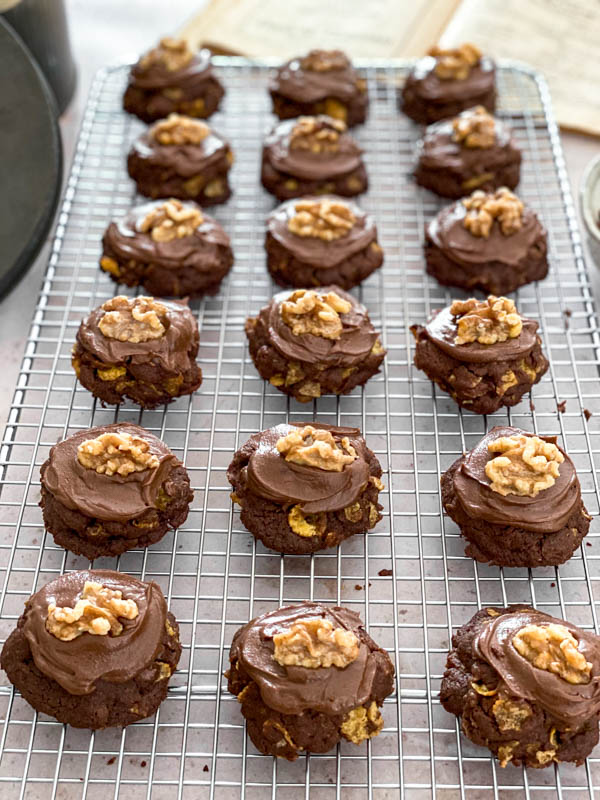
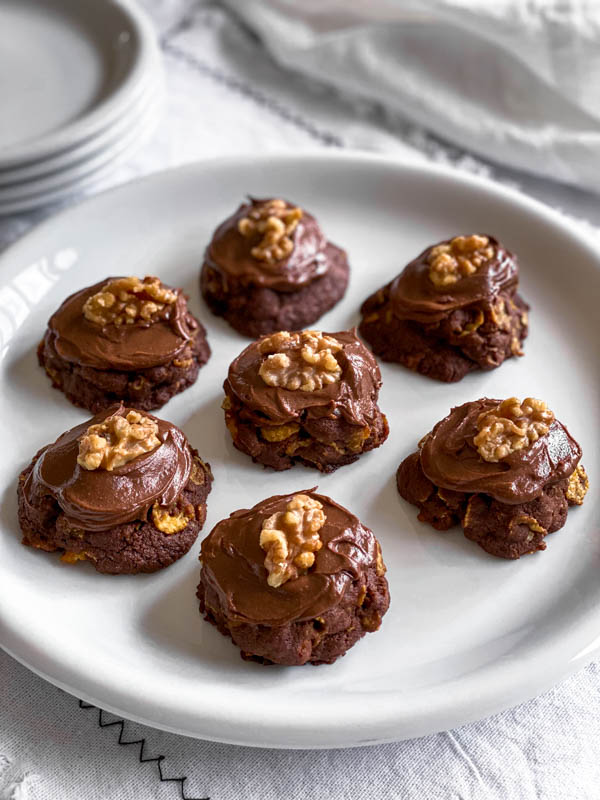
I also really like the look of these biscuits. Topped with the chocolate icing and a walnut half, they look as good as they taste.
I hope you give these biscuit a try – they are wonderful!
Ingredients to make these biscuits:
- Butter – softened (room temperature) butter is required for this recipe. Unsalted or salted is fine. Softened butter is used in the biscuit itself and in the icing.
- Sugar – white sugar.
- Flour – plain white all purpose flour.
- Cocoa powder – some recipes suggest a dark cocoa but I use Cadburys Cocoa Powder in mine. The cocoa is used in the biscuit itself and in the icing.
- Cornflakes – make sure to use unsweetened cornflakes. I use the Kelloggs brand.
- Salt – just a pinch.
- Icing Sugar – I recommend pure icing sugar for this recipe. This will mean your icing will be more set than if you use icing sugar mix.
- Boiling Water – this is added to the icing to get the right spreadable consistency and smoothness.
- Walnut halves – for the top. If you are not a fan of walnuts, you could use pistachios or almond slivers.
Step by step Instructions:


- 1. Here are the cornflakes I used in this recipe.
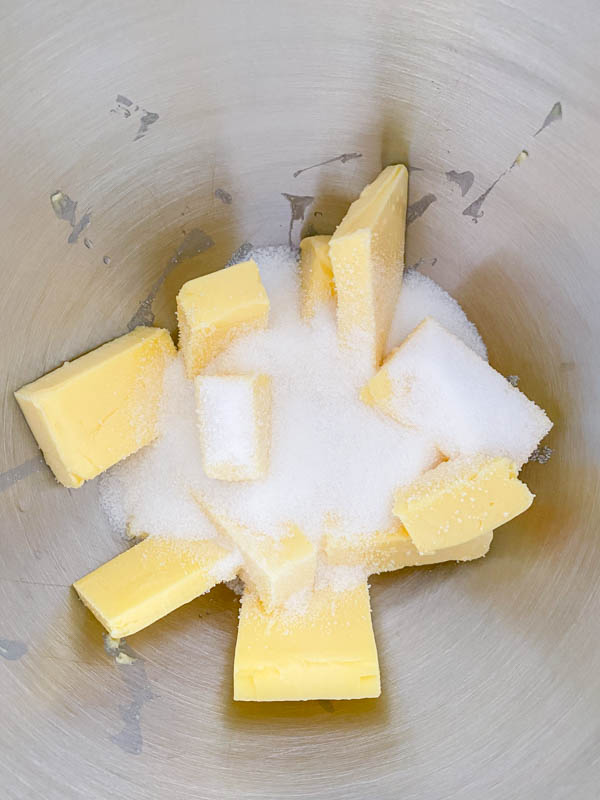
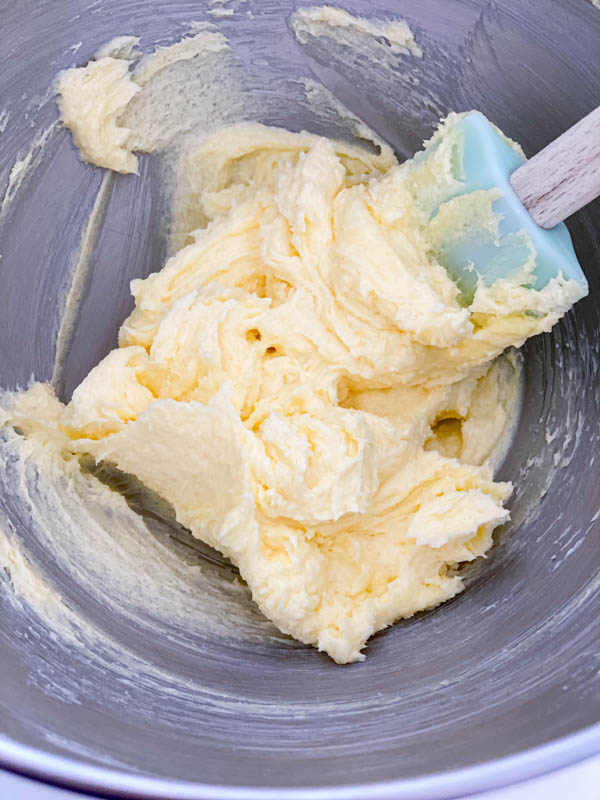
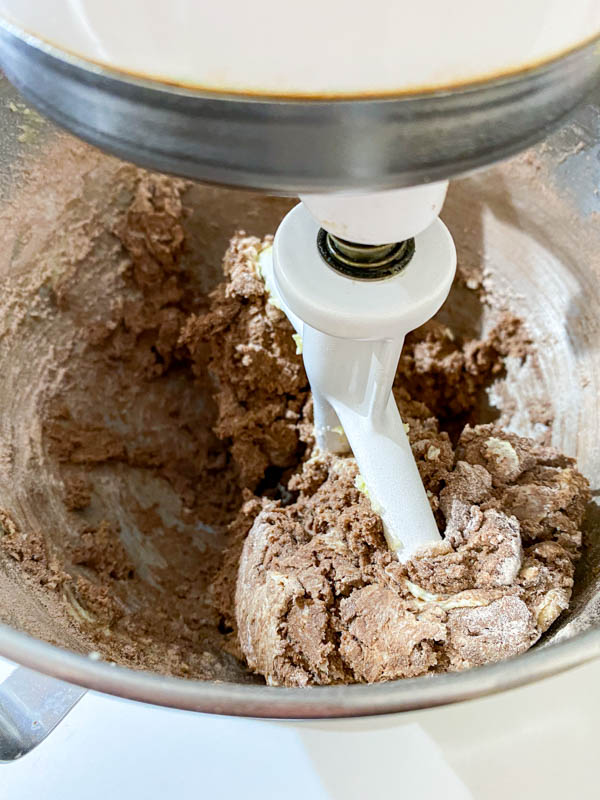
- 2 and 3. Firstly add the softened butter and sugar to the bowl of a stand mixer and using the paddle attachment, cream the butter and sugar on medium speed for 4-6 minutes (start off on a lower speed until combined) until light and creamy. Scrape down the sides of the bowl a couple of times during this process.
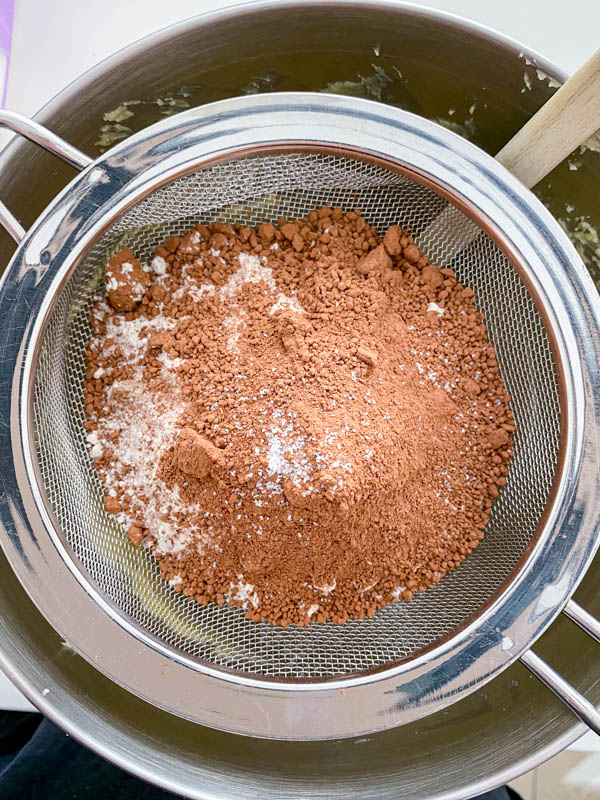
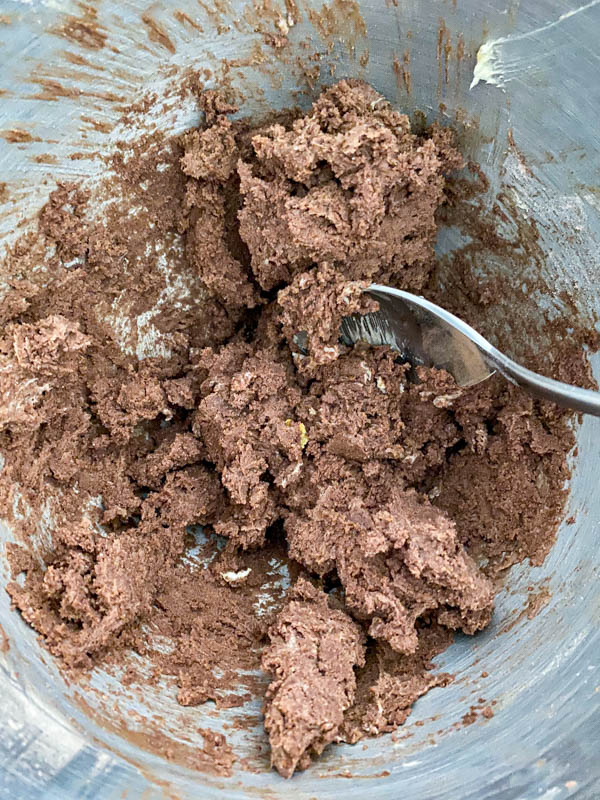
- 4, 5 and 6. Sift the flour and cocoa directly into the butter mixture and beat again on low speed until just combined, or use a large spoon to do this. Scrape down the sides of the bowl during this process.
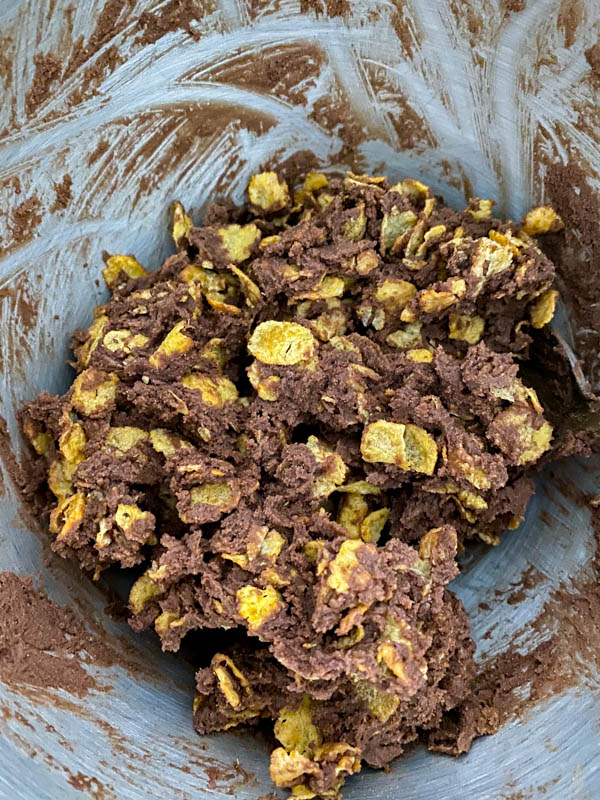
- 7. Add the cornflakes to the mixture and using a large spoon, gently stir and fold the cornflakes into the mix until they are evenly dispersed throughout the dough. Try not to break the cornflakes up too much as you do this.
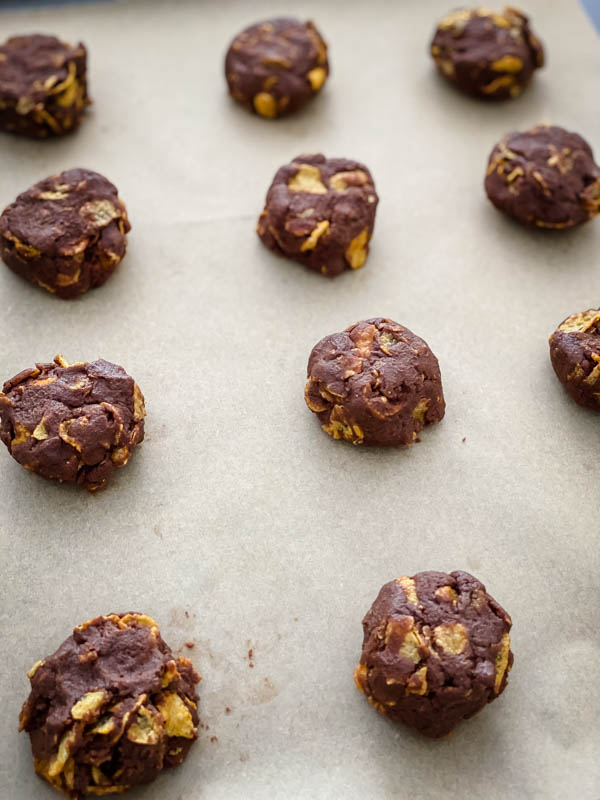
- 8 and 9. Take a tablespoon of mixture (I weighed mine out to 30g) and form into round thick mounds with a flattish top (see pics). These are not a flat biscuit and they don’t spread much at all during baking. I like to press my dough together gently as I am shaping them. Place the mounds onto a baking tray lined with baking paper. This mixture makes approximately 18-20 30g biscuits so you may need 2 trays – I recommend you bake one tray at a time. Place into the preheated 180°C (350°F) oven and bake for 10-15 minutes until cooked and the visible cornflakes are lightly golden. Cool on the oven tray for 10 minutes before transferring them to a wire rack to continue cooling.
- 10. Allow to cool completely on the wire rack before icing.
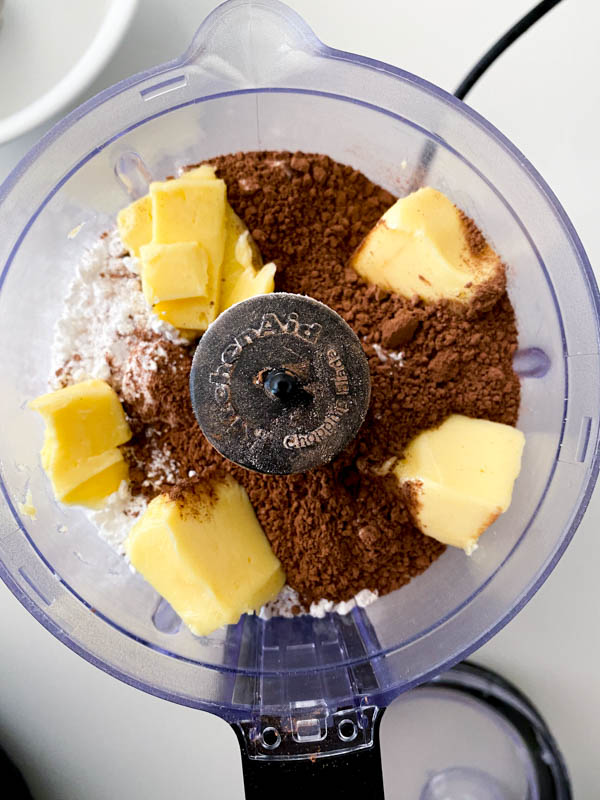
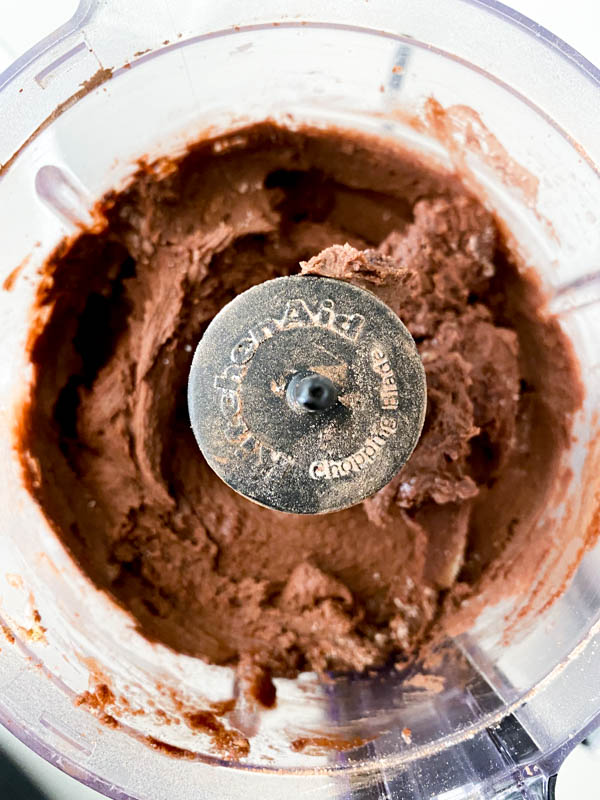
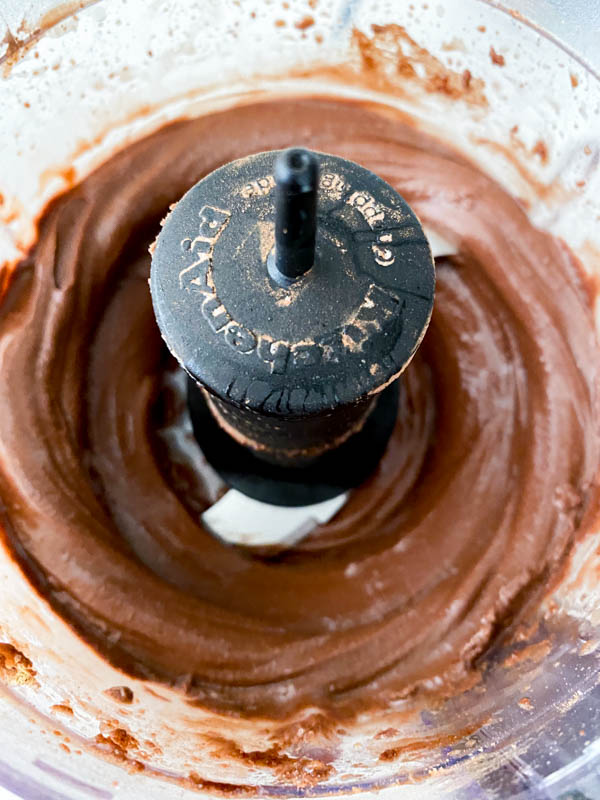
- 11, 12 and 13. To make the icing: Place all the ingredients except the boiling water into a medium sized mixing bowl. Add a tablespoon of boiling water and use a whisk to combine the ingredients together until smooth. Add more boiling water until you achieve a smooth spreadable consistency. Alternatively, as shown in the photos, you can make the icing in a mini food processor.
- Place a heaped teaspoon full of icing on top of each biscuit and spread it with the back of a spoon or a small palette knife. Cover most of the biscuit but allow a gap around the sides so you can still see some of the biscuit (see pics). Place a walnut half on top of each biscuit. Leave them on the wire rack for 20-30 minutes to allow the icing to firm up and set before storing them in an airtight container.
- They keep well in an airtight container at room temperature for 3-5 days. They can also be frozen if you wish to keep them longer. You can also store them in the fridge, however they will lose some of their crunchiness.

Tips and Tricks for Success:
The most important part of this recipe is to use softened butter (for both the biscuit and the icing). If your butter is too hard then neither will work properly. If you have forgotten to put your butter out to come to room temperature then a tip is to grate your butter as this will help speed up the process.
When folding through the cornflakes, it is important to do this gently so as not to crush them. They will naturally break up a little but you want to have pieces of cornflakes in the biscuits as they give the signature crunch they are known for.
As they are a dark biscuit, to tell if they are ready, I rely on the golden bits of cornflakes that are visible and also just press the biscuit gently in the middle to tell if it is cooked. Mine took 14 minutes and they were 30g mounds of dough.
Other recipes to try:
Another classic and always popular biscuit to try is my Chewy Anzac Biscuits.
For more chocolate treats, try the following:
Chewy Chocolate Coconut Slice, Crispy Chewy Chocolate Chip Cookies, Chewy Vegan Chocolate Cookies
Equipment
- Stand Mixer
- medium bowl
Ingredients
- 200 g butter room temperature
- 110 g sugar (1/2 cup)
- 185 g plain all purpose flour (1 1/4 cups)
- 25 g cocoa (1/4 cup)
- pinch of salt
- 70 g cornflakes (2 cups) unsweetened
Chocolate Icing:
- 160 g icing sugar (1 1/4 cups) pure
- 18 g cocoa (3 tbsp)
- 50 g butter room temperature
- 2 tbsp boiling water (2-3 tbsp)
- 20 walnut halves for topping
Instructions
- Preheat the oven to 180°C (350°F). Line 2 baking trays with baking paper.
- Place the softened butter and sugar into the bowl of a stand mixer and using the paddle attachment, cream the butter and sugar together on medium speed until pale and light – about 4-6 minutes. During this time, scrape down the sides of the bowl a couple of times. Sift the flour, cocoa and a pinch of salt directly into the creamed butter mix and beat again on low speed until just combined. Scrape down the sides during this process. Add the cornflakes to the mixture and using a large spoon, fold and mix the cornflakes in gently until they are evenly dispersed throughout. Do this gently so as not to break up the cornflakes too much.
- Take a tablespoon of the biscuit dough (mine weighed 30g each) and mould/shape gently into thick round and slightly flat mounds. These biscuits do not spread much at all during the bake. Place them onto the lined baking trays allowing space between them. My mix made 19 biscuits weighing 30g each.
- Bake the trays one at a time in the preheated oven for 10-15 minutes until cooked through and lightly golden.Cool on the baking tray for 10 minutes before transferring them to a wire rack to continue cooling.
- When cold, ice with chocolate icing. Take a heaped teaspoon of icing and spread thickly onto the biscuit using a palette knife or the back of the spoon, so that most of the biscuit is covered but there is still some biscuit visible around the edges. Place a walnut half on top. Allow the biscuits to sit for 20-30 minutes to allow the icing to set before transferring them to an airtight container.
- To store: place them in an airtight container and store at room temperature. They will keep for 3-5 days. They can also be frozen for longer storage.
Chocolate Icing:
- Place the icing sugar, cocoa and softened butter into a medium size mixing bowl and using a whisk, add a tablespoon of the boiling water and whisk together. Add up to 3 tablespoons to achieve a nice smooth spreadable consistency.


No Comments