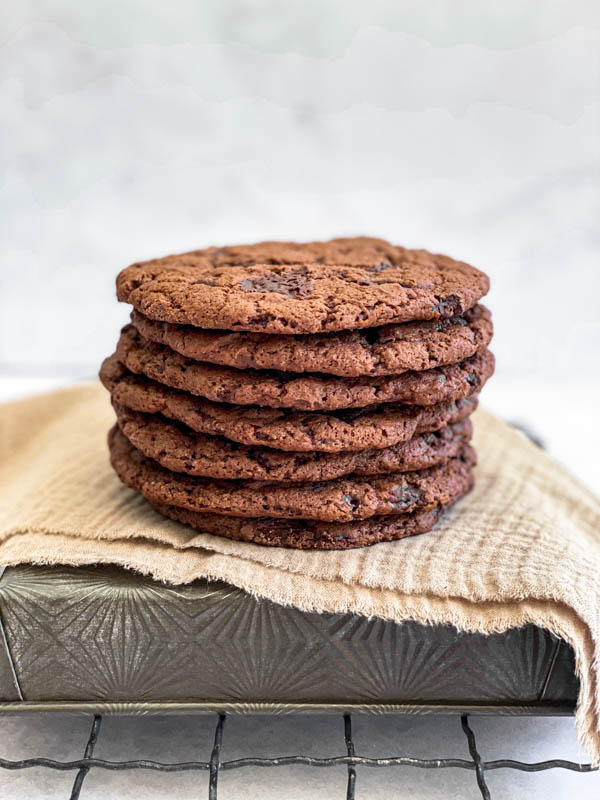
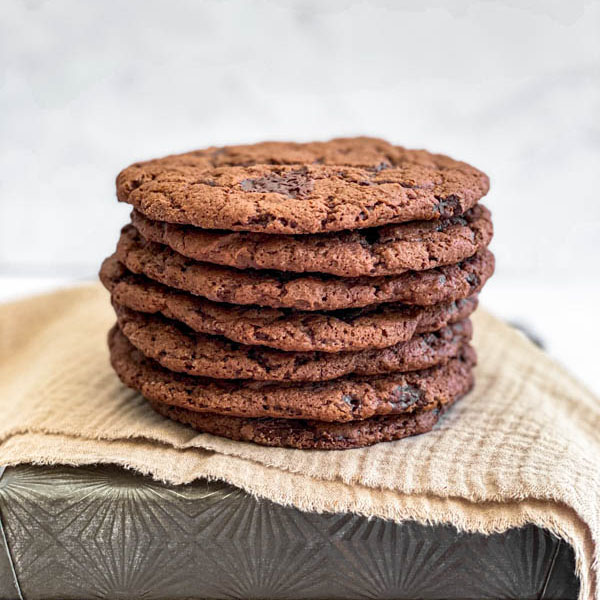
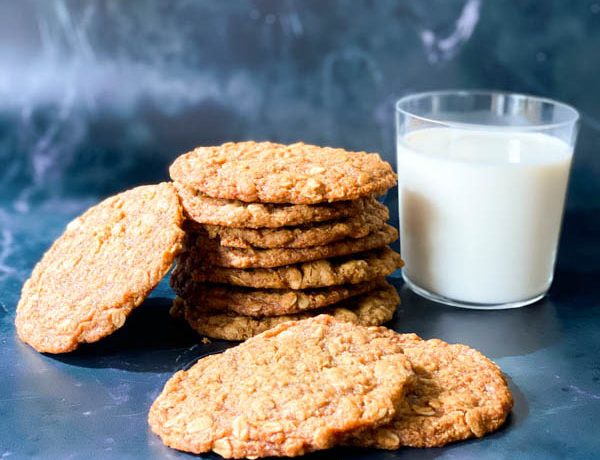
These vegan cookies are absolutely delicious and a new favourite. They are crispy on the edges, chewy and brownie-like in the middle and full of chocolate flavour. This is a melt and mix recipe which means they are very easy to make – an added bonus. You must give these a try!
The taste and texture of these cookies are exactly how I wanted them to be. It took me 5 attempts to perfect this recipe so I am now really happy to share it. You really would have no idea these were vegan. I have replaced the eggs with unsweetened apple puree and instead of dairy, I have used virgin coconut oil.
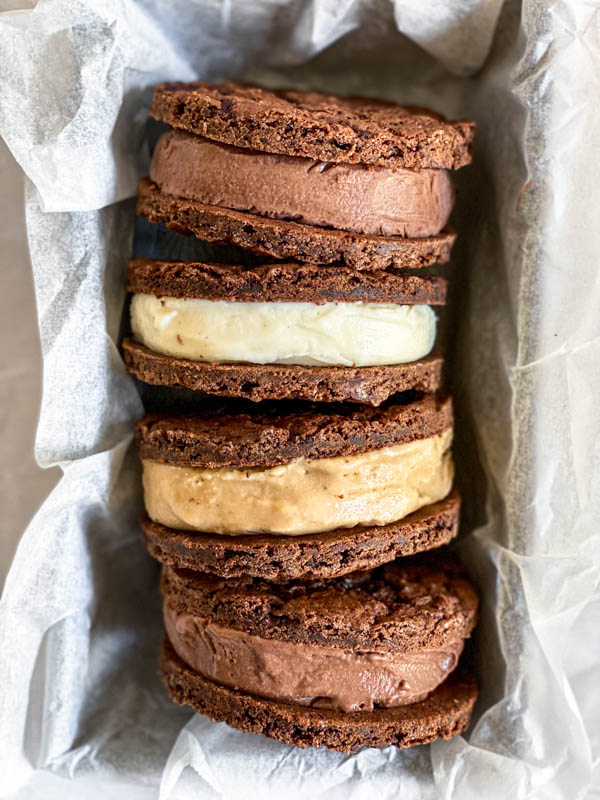
They are a flatter style of cookie and really do have that chewy brownie texture and flavour. It really is hard to stop at just one. While delicious eaten on their own, they are also ideal for making ice-cream sandwiches (see pic below).
This recipe will make 10-12 larger cookies but you can make them smaller if you like (15-20). You would just need to reduce the baking time by 3-5 minutes.
Why make this recipe?
If you love a cookie that is chewy and brownie-like in texture with crispy sides then this is the recipe for you. It is also packed full of chocolate flavour as it uses melted dark chocolate (70%) and cocoa powder in the dough as well as whole chocolate chunks.
The recipe itself is a melt and mix recipe – the sifted dry ingredients are added to the wet ingredients and mixed together with a spoon or hand whisk. No machines or electric beaters required. The batter is only rested for 5 minutes at room temperature – not an hour or overnight like some recipes.
While these cookies are vegan (no dairy or eggs), even your non-vegan friends and family will just love them. I doubt they will even know these are vegan. They have become a firm favourite in our house and none of us are vegan.
Ingredients to make these cookies:
- Chocolate – this recipe calls for dairy-free dark chocolate that is 70% cocoa. I used Lindt 70% Dark Chocolate. Just check on the back of the packet to make sure there is no dairy added. Choose a chocolate you enjoy the taste of as the flavour really comes through in these cookies.
- Virgin Coconut Oil – I have used a virgin unrefined coconut oil in this recipe. I doubt you will even know there is coconut oil in these cookies as it is the chocolate flavour that shines through. I had 6 people taste-test them and no one could pick there was coconut oil in these.
- Sugar – both white sugar and brown sugar are used in these cookies. The brown sugar adds a lovely depth of flavour and chewiness to the cookies.
- Unsweetened Apple Puree – I bought this in 120ml containers (a pack of 6) at my local supermarket here in Australia in the canned fruit aisle. You want a smooth (no chunks) puree that is unsweetened. This replaces the egg component in the recipe.
- Plant-based Milk – I have used almond, cashew and macadamia milk in these cookies. Any plant-based milk is ok to use.
- Vanilla Extract
- Flour – plain all-purpose flour is used for this.
- Cocoa Powder or Cacao Powder – either can be used.
- Rising Agents – I use equal amounts of baking powder and baking soda in these cookies. If you prefer a slightly higher cookie then you can use only baking powder. So instead of 1/2 tsp baking powder and 1/2 tsp baking soda as in the recipe, use 1 tsp baking powder for a slightly higher result.
- Salt – fine sea-salt is used here. I always like to add a little salt to my cookies especially when using chocolate. It really helps lift the flavour.
Instructions on how to make this recipe:
This is a very simple recipe to make. The step that will take the longest is chopping the chocolate into chunks. Everything else is very quick.
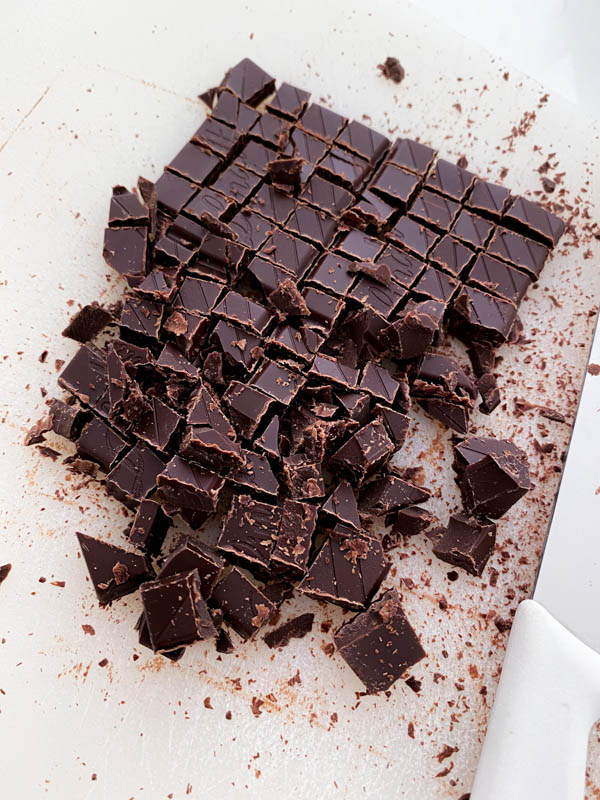
Chop the chocolate into small chunky pieces. 
Melt half the chocolate with the coconut oil in a small saucepan over low heat. This will melt quite quickly. Stir as it melts. 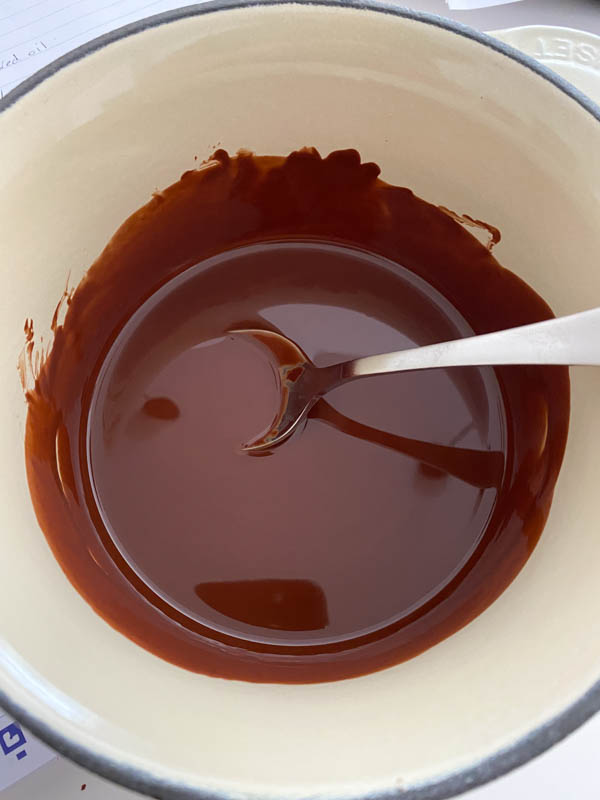
This is what it will look like. Smooth and glossy. 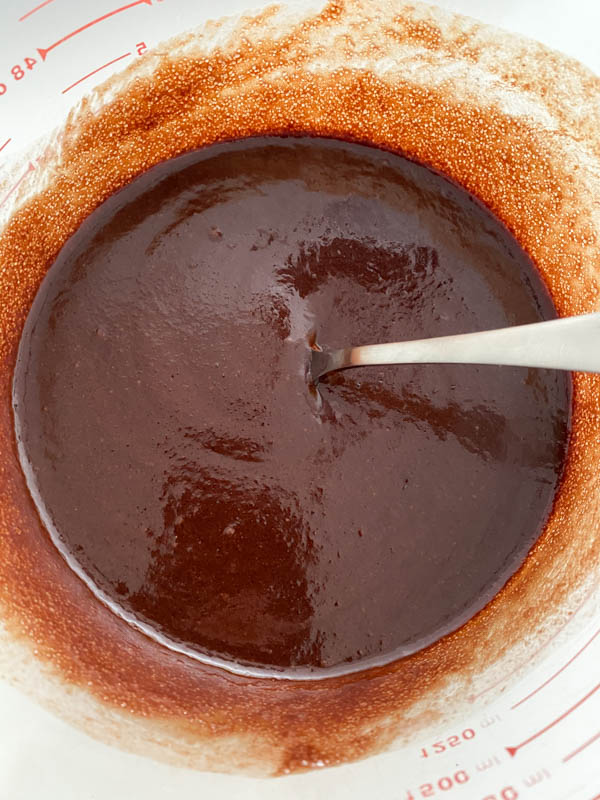
Pour the chocolate into a large bowl and add the sugars, apple puree, milk and vanilla extract. Mix well until combined. 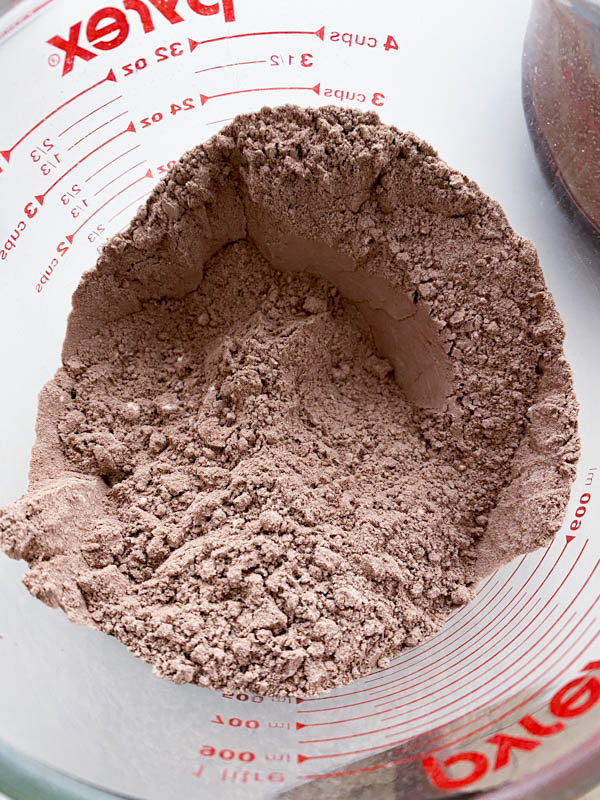
In another bowl, sift the dry ingredients together (flour, cocoa, baking powder, baking soda and salt). 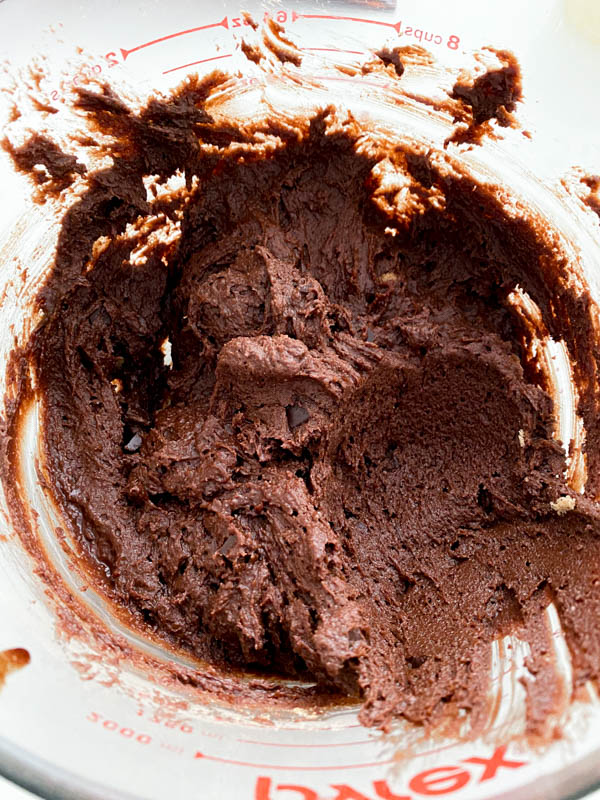
Now add the dry ingredients into the wet ingredients and stir until just combined. Add the remaining half of the chocolate chunks and fold through gently. The batter will be a thick spoonable consistency vs a dough consistency. 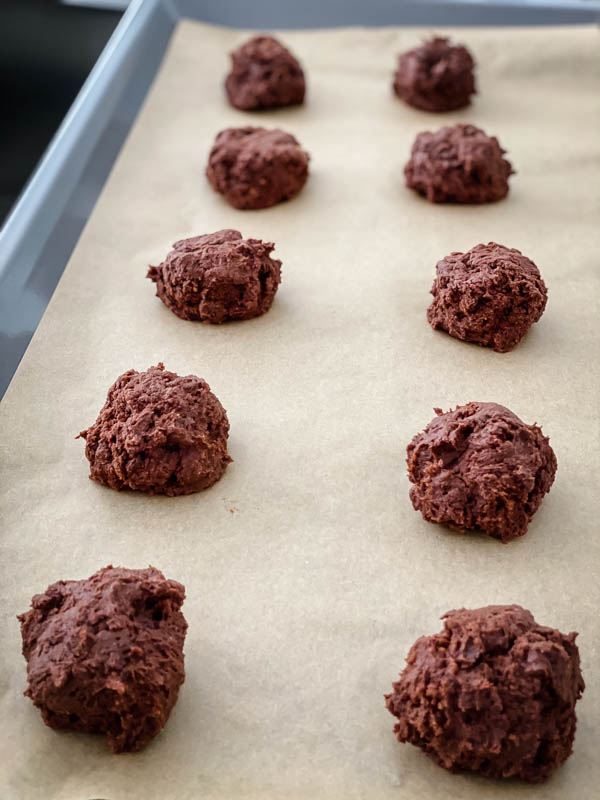
Using a cookie scoop(3 tbsp size) or a scant 1/4 cup measuring cup, spoon balls of batter onto a baking paper lined oven tray (this will give you 10-12 large cookies). You can make smaller sized cookies if you prefer. You will need 2 oven trays to do this (unless you have a 900mm oven) as you need to leave a 7cm space between the cookies to allow for spread. Bake the cookies in a preheated 160°C (320°F) oven for 20 minutes (15-17 minutes if making smaller cookies). Bake each tray separately. 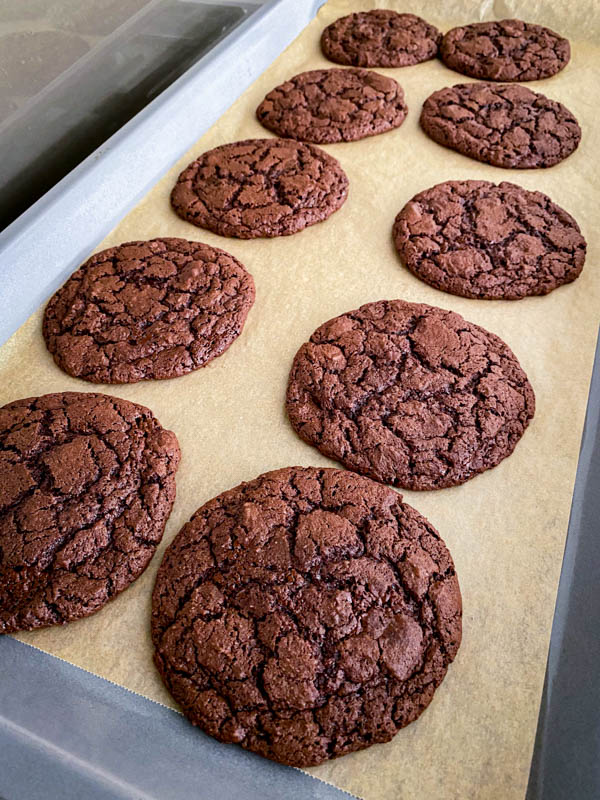
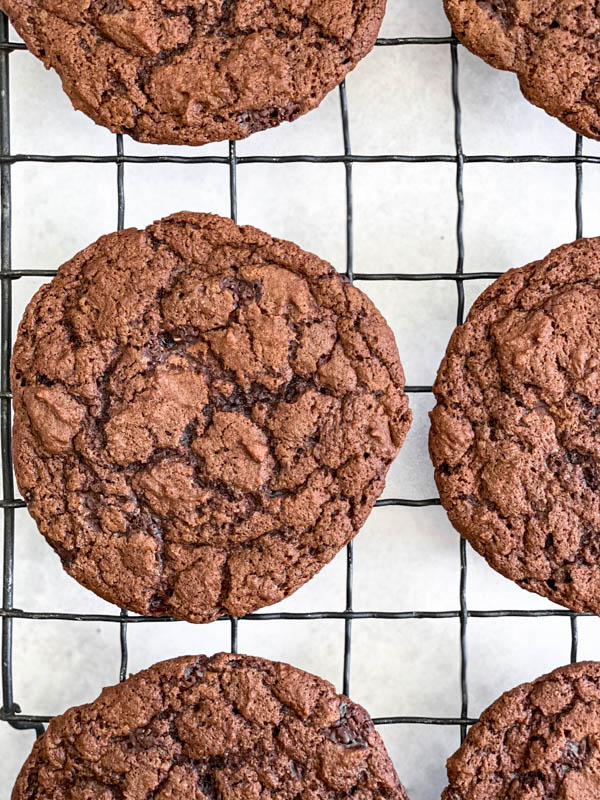
Remove from the oven and leave them to rest on the tray until they have completely cooled. They will still be too soft to move when they first come out of the oven. Once cooled, remove to a wire rack for 10 minutes.
Tips and Tricks for Success:
- Use good quality 70% dark chocolate for these cookies. Obviously choose a dairy-free chocolate for these to be vegan. Check the back of the chocolate bar as some brands of 70% dark chocolate have dairy and some do not.
- Don’t skip sifting the ingredients – it will avoid any clumps of cocoa powder and baking soda in the mixture.
- Make sure to space the cookies apart on the baking trays allowing approximately 7cm between cookies as they will spread a lot.
- The measurement of a scant 1/4 cup will yield 10 large cookies. If making 10-12 cookies they will take 20 minutes to bake. If making 15 cookies, I would check them at 15 minutes and bake for 15-17 minutes.
- It is really important to cool the cookies completely on the oven trays once they have been removed from the oven. While the cookies are cooked they are still too soft to handle and will break if you move them early. Once cooled (say 15 mins), I like to pop them on a wire resting rack for an extra 10 minutes as well if I can wait that long!
How to store these cookies:
The baked cookies will keep well in an airtight container for 4-5 days. They are still ok to eat for a few days after that but may soften slightly.
These cookies freeze really well. They only take a few minutes to defrost so if I want to keep them longer than 4-5 days, this is my recommended way of storing them. Pop the baked and cooled cookies into an airtight container or bag and they will keep in the freezer for up to 3 months. Great for school lunches or when you only need a few at a time.
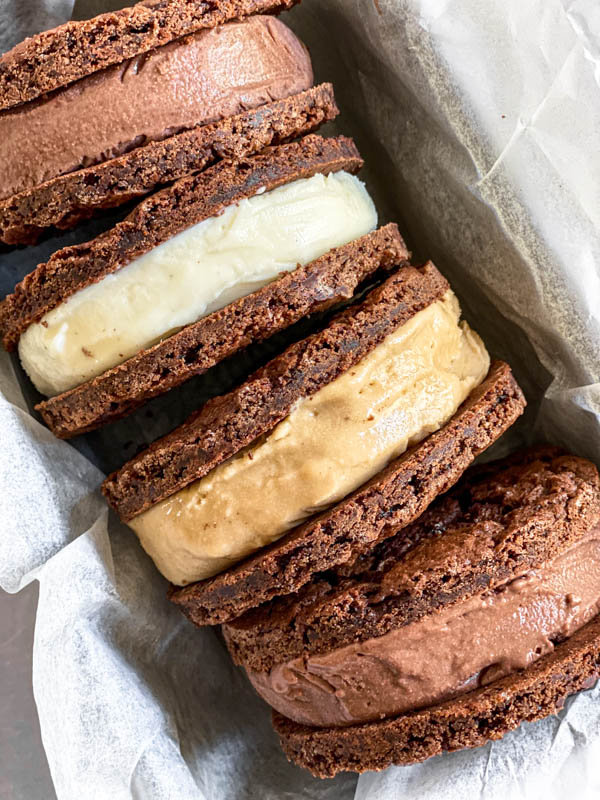
How to make Ice-cream Sandwiches using these cookies:
Use a good quality dairy-free and plant-based ice-cream and you’ll have a delicious all vegan treat!
To make the perfect ice-cream sandwiches, I like to soften the ice-cream slightly and using a tablespoon, scoop out enough ice-cream to fit into a round cookie ring that is lined with glad wrap (allow overhang). You want the cookie/pastry ring to be the same size as your cookies. Use the back of the spoon to level out the ice-cream once you are happy with the height/amount. Fold over the glad wrap so the ice-cream round is fully enclosed and press on them slightly to make sure there are no gaps. Gently push it out of the ring and pop it straight onto a tray that will fit in your freezer. I recommend freezing the tray first and putting each round of ice-cream into the freezer as soon as it is made as the ice-cream will melt. Work as quickly as you can. Repeat this process until you have the quantity you require. If at any stage you find the ice-cream is getting too soft, simply stop and place it back in the freezer.
If I am being a perfectionist, I will also use the same size ring to cut/trim my cookies so they are both the same size.
ps. If you’re not worried about the look of the ice-cream sandwiches, then the no-fuss way is to place a scoop of ice-cream between two cookies and press together to your liking.
The ice-cream rounds can be made up to 2 days ahead and kept wrapped in the freezer. Simply remove them from the freezer when ready to serve. I often remove them 2 minutes before serving just so as they aren’t too hard to bite into.
Use room temperature cookies for ice-cream sandwiches, so if using frozen ones, remove them from the freezer 10 minutes before assembling.
Serve immediately once assembled!
More delicious recipes for you to try:
Take a look at my other bakes:
or try these vegan no-bake slices:
Equipment
- 2 large mixing bowls
- small saucepan
- 2 baking trays
Ingredients
- 200 g dark 70% chocolate (approximately 2 cups) dairy free
- 30 ml virgin coconut oil (2 x 15ml tbsp)
- 1 c white sugar (225g)
- 1/4 c light brown sugar (55g)
- 120 g unsweetened apple puree (1/2 cup)
- 30 ml almond milk or any plant-based milk
- 1 tsp vanilla extract
- 1 c plain flour (160g)
- 1/4 c cocoa powder or cacao powder
- 1/2 tsp baking powder
- 1/2 tsp baking soda
- 1/2 tsp fine sea salt
Instructions
- Preheat oven to 160°C (320°F). Line 2 oven trays with baking paper.
- If using a block of chocolate, chop it into small chunks. Place half the chocolate (100g) and the coconut oil into a small saucepan. Place on the stove-top over a low heat and stir until melted, smooth and glossy. This won’t take long at all.Transfer the melted chocolate to a large bowl and add both the white and brown sugars, apple puree, almond milk and vanilla extract. Whisk together well with a spoon or hand held whisk until combined and smooth.
- In a second bowl, sift together all the dry ingredients – flour, cocoa powder, baking powder, baking soda and salt. Use a spoon to mix them together.
- Add the dry ingredients to the wet ingredients and add the remaining chocolate pieces (100g). Mix everything together gently with a spoon until just combined.
- Using a cookie scoop or 1/4 cup measuring cup (fill just under 1/4 cup), spoon mounds of batter onto the prepared oven trays, leaving enough space (approximately 7cm) to allow the cookies to spread. This will give you 10 large cookies (you can make smaller ones if you prefer – see notes). Place the first tray into the oven and bake for 20 minutes. Remove from the oven and allow cookies to cool completely on the tray before removing. Place the second tray of cookies in the oven and repeat the process.
Notes
Tips and Tricks for Success:
- Use good quality 70% dark chocolate for these cookies. Obviously choose a dairy-free chocolate for these to be vegan. Check the back of the chocolate bar as some brands of 70% dark chocolate have dairy and some do not.
- Don’t skip sifting the ingredients – it will avoid any clumps of cocoa powder and baking soda in the mixture.
- Make sure to space the cookies apart on the baking trays allowing approximately 7cm between cookies as they will spread a lot.
- The measurement of a scant 1/4 cup will yield 10 large cookies. If making 10-12 cookies they will take 20 minutes to bake. If making 15 cookies, I would check them at 15 minutes and bake for 15-17 minutes.
- It is really important to cool the cookies completely on the oven trays once they have been removed from the oven. While the cookies are cooked they are still too soft to handle and will break if you move them early. Once cooled (say 15 mins), I like to pop them on a wire resting rack for an extra 10 minutes as well if I can wait that long!


No Comments