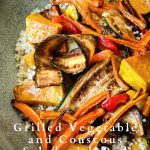
Get the most flavour out of your vegetables by charring and grilling them on the stovetop, oven or bbq and creating this wonderful prepare-ahead salad that combines a herby lemon couscous with full of flavour grilled vegetables and a creamy roasted red pepper mayonnaise. Delicious on its own as a vegetarian dish, or serve with cooked lamb or beef. This is a real crowd pleaser that will have your guests going back for seconds.
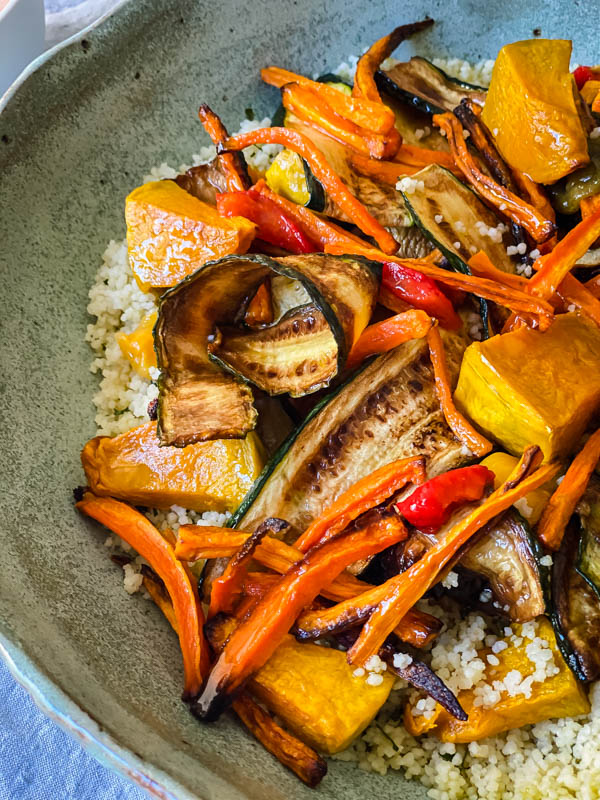
This is a really really good salad. It has great flavour and can stand alone as a vegetarian dish or be complemented by meats. I often serve the salad as it is for the vegetarians and then will take some of the salad and fold through medium rare beef fillet or lamb backstrap for the meat lovers. I just love it!
The salad is made up of three different components that can all be made in advance making it perfect for fuss-free entertaining. The herby lemon couscous can be made earlier in the day (even a day in advance if you must). The roasted red pepper mayo can be made 2 days in advance. Both these components are very easy to prepare and once made, are kept in the fridge until required. Always remove them from the fridge to give them time to come to room temperature before serving.
The third part of this salad is grilling the vegetables which isn’t a hard task at all, but will take a little time. The time it takes will depend on how you cook them as they can be cooked in a number of ways – in the oven, on the stove-top (frying pan) or on your barbeque plate/grill (see below on ways to grill vegetables).
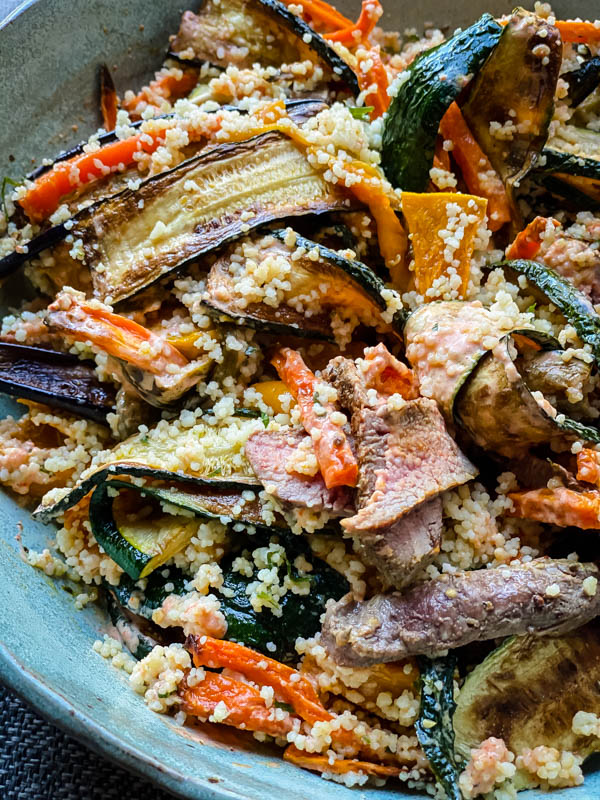
I really hope you give this salad a try as it is one I make on rotation in the Summer months and am often asked for the recipe. Any leftovers are delicious for up to 3 days if stored in the refrigerator. This is my kind of salad! The fact that it can all be prepared ahead of time (some components up to 2 days in advance) makes this a winning recipe. Let’s take a look at the 3 components of this salad and why it’s a favourite.
What makes this salad so delicious?
There are 3 components to this salad:
Herby Lemon Couscous: Firstly let me explain what couscous is. It is a processed grain which is made from little balls of crushed durum or semolina flour. There are 3 different sizes of couscous. For this recipe, you will need the smallest size called Moroccan Couscous which is readily available at supermarkets, green grocers and specialty food stores. There is also a larger (peppercorn size) variety called Israeli Couscous and then an even larger variety again (pea size) called Lebanese Couscous.
I love the Moroccan couscous in this salad as it makes it a little more substantial but it is still light and you don’t feel heavy after eating it. The couscous is super quick and easy to prepare. The couscous is simply added to boiled chicken or vegetable stock (which is tastier than water), covered and left to steam for 5-10 minutes! It is then dressed with finely chopped herbs (parsley), lemon and olive oil for added flavour. That’s it – It is then set aside to sit at room temperature if you are using it that day, or refrigerate it until you are ready to use. Always bring it out to come to room temperature before using.
Note: for a gluten-free substitute you can use quinoa in place of the couscous. Prepare with the following ratio of 1 cup of quinoa to 1 3/4 cups of stock – rinse the quinoa thoroughly under running water, rubbing the seeds with your fingers for 20 seconds. Drain and place the quinoa into a medium sized saucepan. Add the stock and set aside to soak for 15 minutes. Bring to the boil, reduce the heat to low and cook with the lid on for 10-15 minutes or until the liquid has just evaporated. Fluff with a fork, replace the lid and set aside for 15 minutes to continue to steam.
Roasted Red Pepper Mayonnaise: This delicious mayo is used to dress the salad. It is made from 3 ingredients: roasted red pepper, mayonnaise (I always use Best Foods brand), and a white wine vinegar (or similar – I have used white wine vinegar, fig vinegar and tarragon vinegar in the past). Once the red pepper has been roasted, this mayo is made in 2 minutes. Everything is added to a blender and processed until smooth, then seasoned with salt. If you are time-poor, you can use roasted peppers from a jar.
For a lower fat version, you can substitute 1/4 to 1/2 cup of the mayonnaise for Greek Yoghurt. It won’t be quite as creamy. I tend to only substitute 1/4 of a cup.
Grilled Vegetables: The vegetables used in this salad are: zucchinis, baby eggplant, peppers (capsicum), carrots and pumpkin. As mentioned earlier, while this is a very simple process, this is the part that will take the longest time as, depending on how you cook them, you may need to do them in batches. The flavour you get by roasting or grilling the vegetables is worth it because it makes them sweeter and concentrates their flavour. The key is to get a good char/caramelisation on the vegetables which equals flavour, flavour, flavour! Remember there is a difference between a beautiful char and burnt though. 😊 Read on for more info on the cooking of the vegetables.
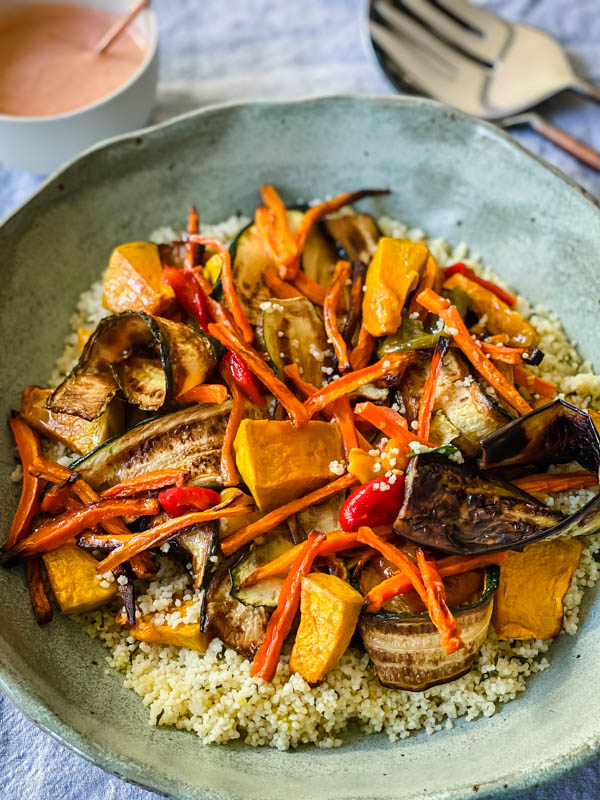
What are the different ways to cook the grilled vegetables?
There are 3 ways in which you can cook these vegetables.
BARBEQUE: The quickest way to grill vegetables is on a barbeque plate or grill. The reason for this is you have a much larger surface to cook them on than say your frying pan, where you would have to cook the vegetables in batches. The vegetables are oiled lightly (you can brush the oil on) and cooked on the preheated barbeque over medium high heat. You need to keep an eye on them and move them around a bit, depending on where the hot spots are on your barbeque. This is one of my preferred ways to cook the zucchini, baby eggplant and the peppers.
OVEN: You can also use an oven to roast or grill the vegetables. This is my preferred way to cook the carrots and the pumpkin as I find I can control the temperature better and they cook through without me having to stand over them and keep an eye on them too much. The temperature I like to use is 170°C (340°F) FAN FORCED. I find that the fan forced oven helps dry the vegetables out a little and this temperature gives a nice colour without burning. I always cook these in advance and set them aside at room temperature for use later in the day. So as not to over oil the vegetables prior to cooking, I put them in a glad bag (or a bowl), drizzle in the oil and massage into the vegetables. I do this separately – so carrots first, then the pumpkin and I always use Extra Virgin Olive Oil as I like the flavour it gives them.
You can also roast/grill the peppers in the oven too. When using peppers in a salad my preferred method is to roast them in the oven at between 200°C and 220°C (400° – 440° F) on a foil and baking paper lined oven tray (see recipe). To prepare the peppers, I wash and dry them, then cut them in half horizontally and remove the core and seeds, before placing the halves skin side up on the oven tray and cooking them in the preheated oven for 25-35 minutes (or until the skin is nicely charred). You can also cook them whole, however they will take slightly longer as the process of removing the seeds is more difficult. The only time I do them whole nowadays is when I bottle them. Totally up to you though.
STOVE-TOP: This is my other preferred way to cook the zucchini or baby eggplant slices/quarters. The only down-side to this method, is it will take you longer than on a barbeque plate. To speed things up, I often use 2 frying pans.
It is not a difficult process at all – oil the pan (or brush the vegetables with oil), and place in the pan over medium/high heat, seasoning lightly as you go, then pan-frying until a nice deep brown colour all over – this is key! Turn them and repeat the process on the other side. The zucchini slices will cook more quickly than the eggplant slices. When I take the cooked slices from the pan, I place them on a plate or tray lined with paper towels. I then continue to layer them with paper towels between each layer. This helps remove any excess oil. Allow to cool, then set aside covered until ready to use.
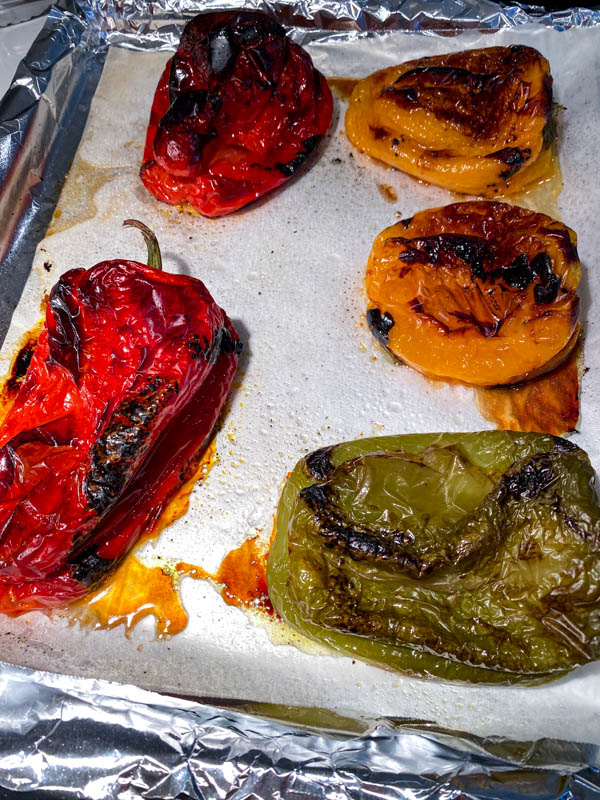
The roasted whole peppers. Read above for my preferred method about halving them as it saves a lot of time removing the seeds before cooking. 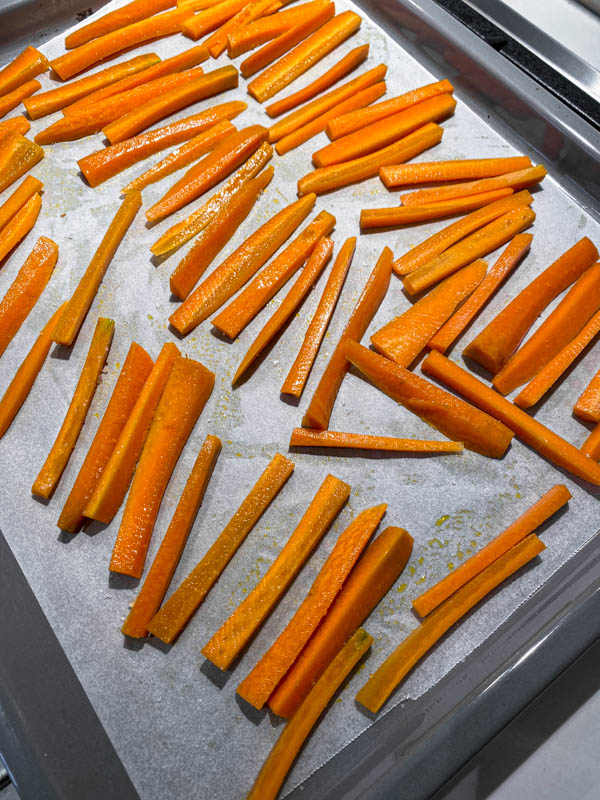
The carrot sticks are lightly oiled and spread out evenly on an oven tray ready for the oven. I like to cook these at 170°C (340°F) for approximately 25 minutes or until cooked and lightly caramelised. 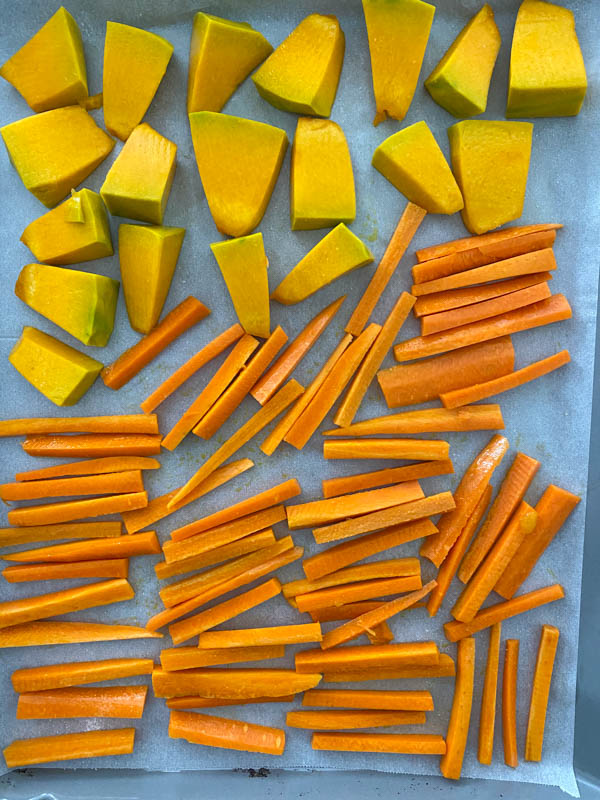
If cooking for a smaller number, you may find you can roast both the vegetables together on the same tray. Or if you have a wider oven, they can be cooked together as well. 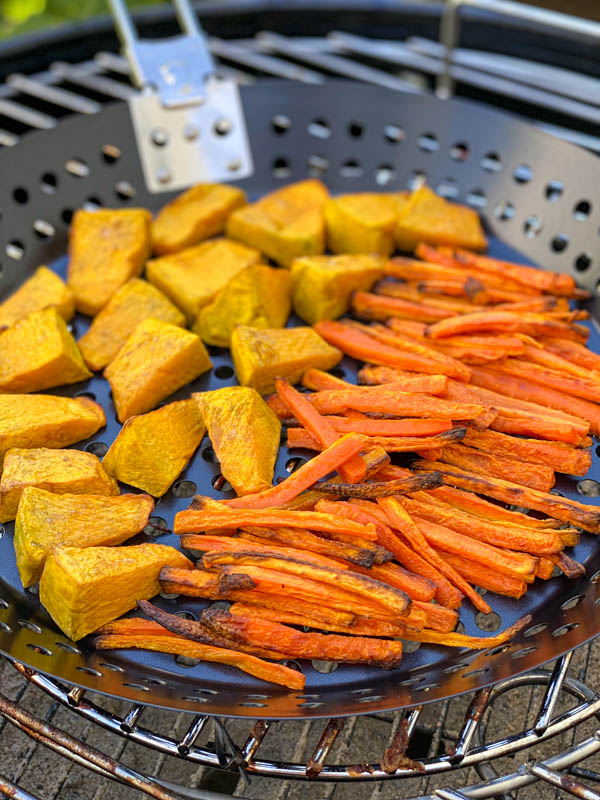
This shows both the pumpkin pieces and carrots cooked and cooled. Set aside, covered at room temperature until required. 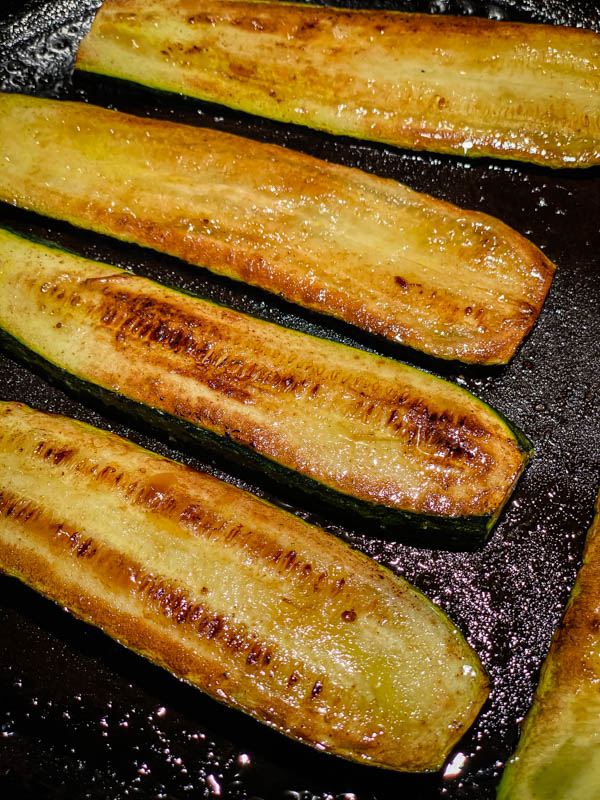
The zucchini slices with great colour – make sure they get nicely browned as this means flavour. Zucchini benefits from a nice char. 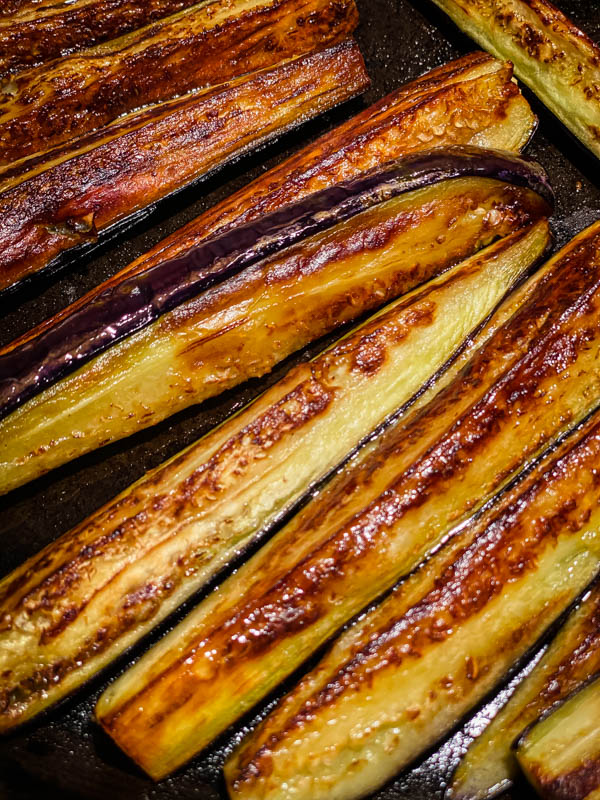
Here is the baby eggplant, again with great colour. This is what you want to achieve and make sure they are soft inside and cooked through. Undercooked eggplant is not pleasant to eat. 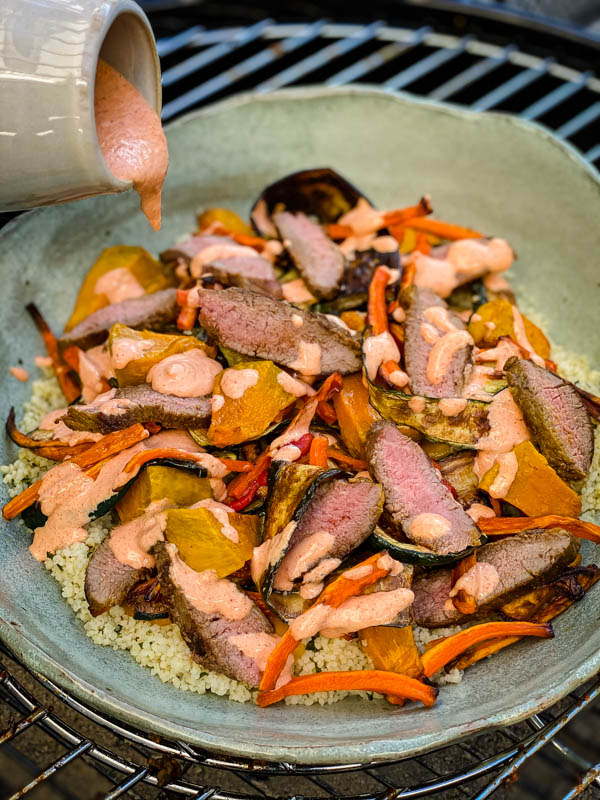
The room temperature couscous and grilled vegetables are dressed with the red pepper mayo dressing just before serving. Fold everything through well so that the ingredients are evenly coated. Here I have also added cooked and thinly sliced lamb backstrap to the salad (optional).
Can this salad be made ahead?
Yes, you can prepare all the components of this salad ahead of time.
Red Pepper Mayonnaise – can be made 2 days in advance and stored covered in the refrigerator. Bring to room temperature before using.
Herby Lemon Couscous – can be made earlier in the day and even the day before. Set aside at room temperature or, if making a day in advance, keep in the refrigerator and bring back to room temperature before using.
Grilled/Roasted Vegetables – these can also be prepared earlier in the day and set aside covered at room temperature.
Leftovers of this salad are absolutely delicious for 2 days, so if you were time poor, you really could make this salad the day before, dress it lightly and refrigerate overnight. Then bring it out of the fridge to room temperature and fold through more dressing.
Here is the recipe.
Enjoy!
Katrina x
Equipment
- barbeque, oven or stove-top
- oven trays
- medium saucepan
- mini food processor
Ingredients
Herby Lemon Couscous:
- 1 c Moroccan couscous instant
- 1 1/4 c vegetable or chicken stock see note 1
- 1 tbsp butter
- 2 tbsp Italian parsley finely chopped
- 1 tsp olive oil extra virgin
- 1 tbsp lemon juice freshly squeezed
- salt and pepper to season
Roasted Red Pepper Mayonnaise:
- 1 large red pepper (capsicum) or 2 small see note 2
- 1 c Mayonnaise (250ml) I use Best Foods brand
- 1 tbsp white wine vinegar or similar – see note 3
- salt to season
Grilled/Roasted Vegetables:
- 4 zucchini, medium
- 4 baby eggplant or use 4 more zucchini
- 1 red pepper (capsicum)
- 1 yellow pepper (capsicum)
- 1 green pepper (capsicum)
- 1/4 Kent (Jap) pumpkin
- 3 carrots
- 1/4 c olive oil extra virgin, for cooking the vegetables (approximately )
- 2 tsp salt and pepper to season (approximately )
Instructions
To prepare the Couscous:
- Put the stock (I use chicken but if catering for vegetarians, then use vegetable stock) and butter into a medium sized saucepan and bring to the boil on the stovetop. As soon as it reaches a boil, remove from the heat and add the couscous. Stir it lightly so couscous is even then cover and set aside to steam for 5-7 minutes. Fluff lightly with a fork to separate grains and avoid any clumping. Stir through the olive oil, lemon juice and parsley. Season to taste with salt and pepper. Set aside.
To make Roasted Red Pepper Mayonnaise:
- Preheat the oven to 200°C (400°F). Line an oven tray with foil and then with a layer of baking paper on top.
- Wash and dry the red pepper (capsicum). Cut in half lengthways and remove the core and seeds. Place the halves skin side up on the oven tray. Roast in the oven for 25-35 minutes or until the skin is charred and blackened. Remove and place them in a bowl. Cover with cling wrap and set aside for 15 minutes to steam (this makes them easier to peel). Once cool enough to touch, remove and discard the skins.
- Place the roasted capsicum flesh, mayonnaise and vinegar into the bowl of a mini food processor and blend until smooth (approximately 20 seconds). Remove to a bowl or jug. Season to taste with salt and set aside.
- NB. The red pepper can be cooked on the same tray, at the same time as the peppers required for the salad. They can also all be grilled on the bbq with the lid on if you prefer – see post.
To Grill/Roast the Vegetables:
Carrots and Pumpkin
- Preheat the oven to 170°C fan forced (340°F fan forced). Line 2 trays with baking paper.
- Peel the carrots, trim the tops, then cut them in half horizontally. Slice each half into sticks (1/2cm thick and approx 7-8cm in length).Remove the skin from the pumpkin and cut them into 1/2 cm thick slices. Then cut the slices into bite-sized pieces (2cm).
- Place the carrot sticks into a glad bag or bowl and drizzle in some of the olive oil (approximately 2 teaspoons). Massage the carrots so they are all lightly coated in oil. Place on one of the trays. Season with salt.Do the same with the pumpkin pieces (use the same bag or bowl that you used for the carrots). Place the lightly oiled pumpkin pieces on the other tray. Make sure they are all evenly spread out. Season with salt.Place the trays into the preheated oven and roast for 20-30 minutes or until nicely browned and cooked. Remove and set aside to cool on a plate or tray.
Peppers (capsicums)
- Preheat the oven to 200°C (400°F) and line an oven tray with foil and then top with a layer of parchment paper. Wash and dry the red, yellow and green peppers (capsicums). Cut them in half lengthways and remove the cores and seeds. Place the halves skin side up on the oven tray. Roast in the oven for 25-35 minutes or until the skin is charred and blackened and the peppers are soft. Remove and place them in a bowl. Cover with cling wrap and set aside for 15 minutes to steam (this makes them easier to peel). Once cool enough to touch, remove and discard the skins.Slice the peppers into 1cm slices and place in a bowl. Season with salt and add 1 tsp olive oil to them. Stir and set aside.
Zucchini and Baby Eggplant
- Wash and dry the zucchinis and baby eggplant. Trim the top and bottom of the zucchini, then slice lengthways into thin slices (2mm thick). Do the same with the baby eggplants, or you can quarter them lengthways. Pat them dry with paper towels.Heat a frying pan over high heat and add 2 tablespoons of olive oil. Add a single layer of zucchini slices to the pan (don’t overcrowd), reduce the heat to medium/high and cook until well browned (approximately 1.5 mins). Season lightly with salt, then turn over and repeat on the other side. Once cooked, remove to a plate or tray that is lined with paper towels. Repeat with the remaining zucchini slices. You may need to top up with more oil to the pan along the way. Let any new oil heat up before adding more zucchini.Cook the eggplant slices/quarters in the same way as the zucchini. The eggplant will take slightly longer to cook. Make sure they get nicely browned and are soft on the inside before taking off the heat. As with the zucchini, remove the cooked eggplant and place on a plate or tray lined with paper towels. Continue to layer eggplant, making sure there are paper towels between each layer.Set the zucchini and eggplant aside.NB. The cooking of the zucchini and eggplant can also be cooked on a barbeque plate/grill.
To Assemble the Salad:
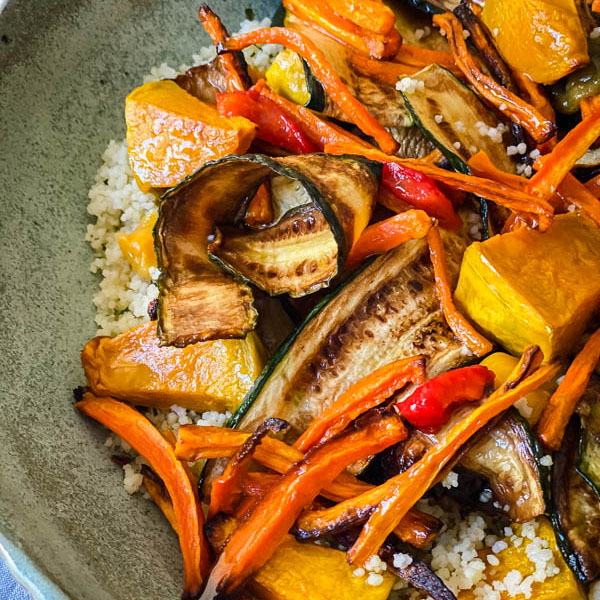
- Place the cooked couscous into a large salad bowl or platter. Spread out. Top with the grilled/roasted carrots, zucchini, eggplant, peppers and pumpkin. I add a half quantity of each and then repeat, so they are a little mixed up. Drizzle over the red pepper mayonnaise and gently fold everything together well so that all the vegetables and couscous are well coated in the dressing. You may have a little left over. Season with pepper and add salt to taste (if required).


2 Comments
Mike Coe
February 22, 2021 at 5:32 amLove this couscous salad – it’s our go to salad now for our barbeques. So tasty, thanks Katy.
Katrina
March 4, 2021 at 10:29 amThis is one of my favourite salads too! Thank you for trying it and it’s so nice to hear that it is now your go-to for barbeques!! xx